
This fun craft makes a lovely window decoration and uses up old egg boxes. You could probably make yours neater than ours, I was time limited to baby’s nap.
You’ll need:
- Old egg box
- Ribbon
- Paint and brushes
- Cardboard
- Coloured/textured card/paper
- Pens
- Scissors and glue (either PVA or gluegun)
What to do:
- Cut the egg box into individual parts, trim off the edges to give a fish scale finish. Keep the top of the egg box.
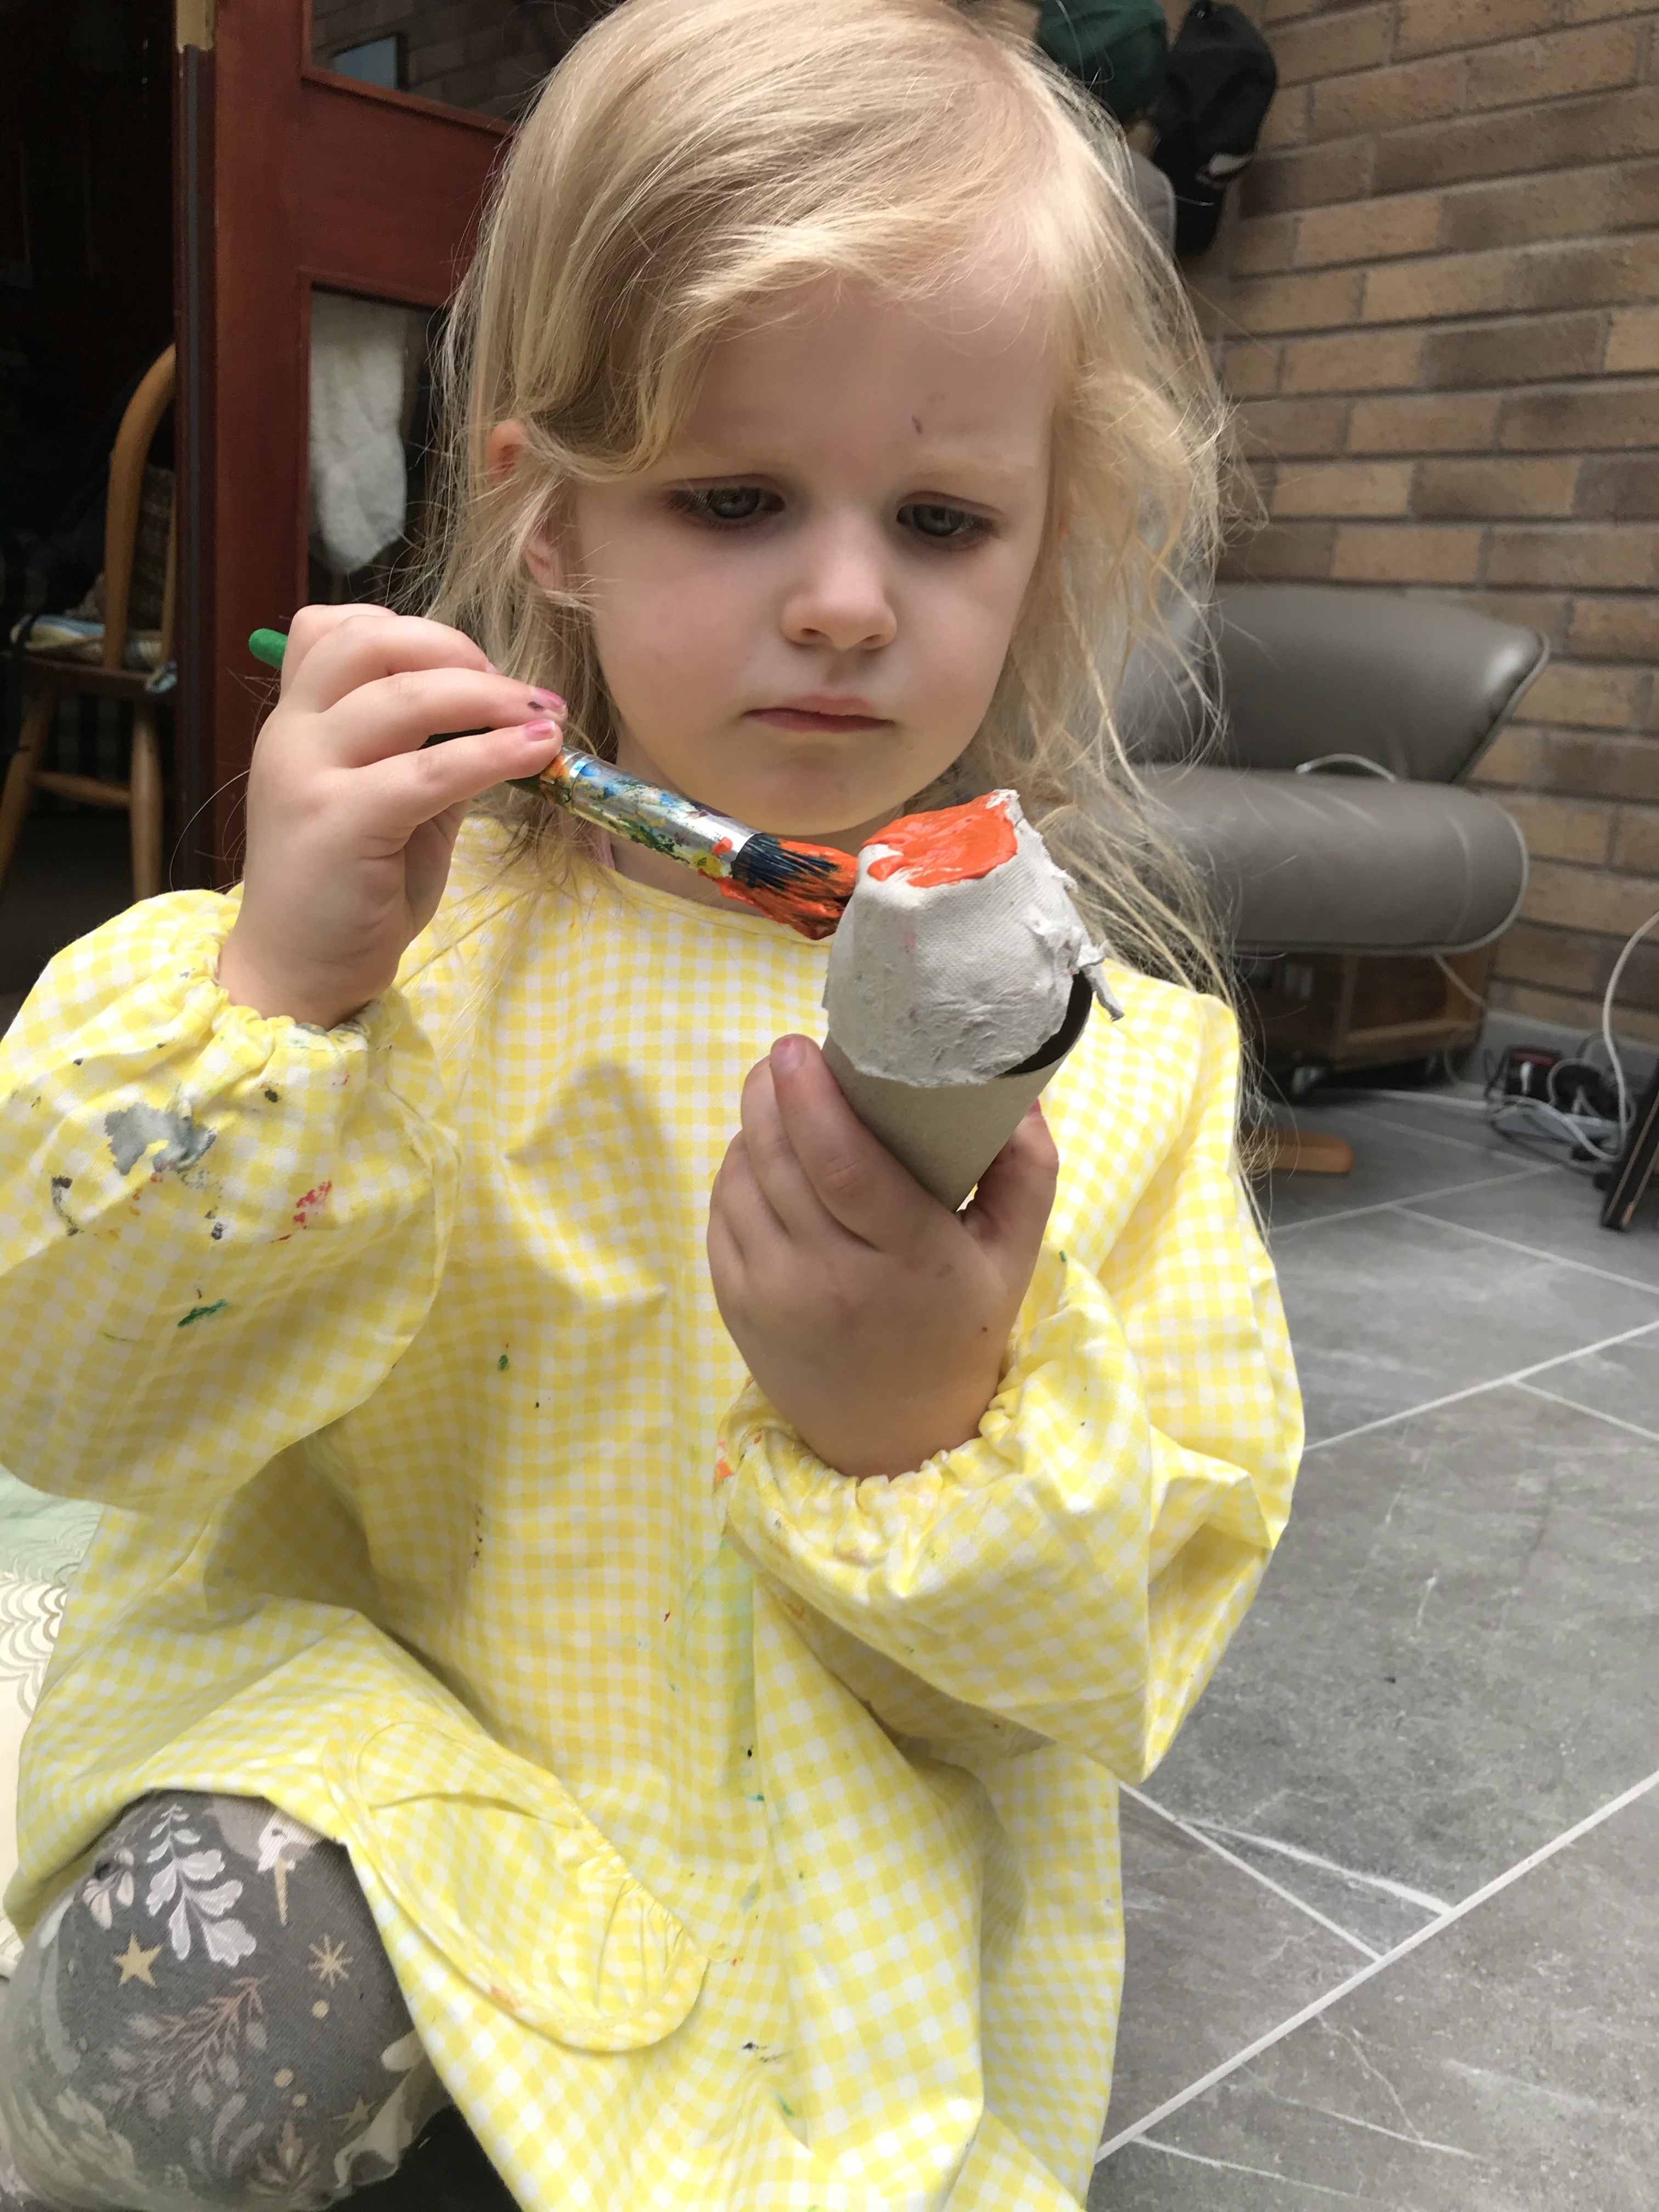
- Paint the individual parts and leave to dry.
- On cardboard or the top of the egg box draw the outline of the top part of a mermaid and a tail shape, cut out.
- Paint the tail and leave to dry.
- Add a bikini top to the mermaid using textured card or paper, stick on with PVA glue.
- Give your mermaid a face (googley eyes optional!).
- Give your mermaid hair by sticking a ribbon round the face.
- Once the egg box sections/tail parts are dry make a small split in the top of each, preferably with a knife.
- Thread a piece of ribbon through each egg box/tail part, knot between to keep them evenly spaced. Leave a long section of ribbon at the top.
- Stick on the tail shape to the inside of the last egg box section.
- Cut a larger slit in the top egg box and trim the top half of the mermaid so it fits through. Fold it over and stick it down with glue or sellotape.
- I also stuck the extra ribbon to the back on the mermaids body, and tied an extra piece of string to the ribbon so that I could hang up the mermaid.
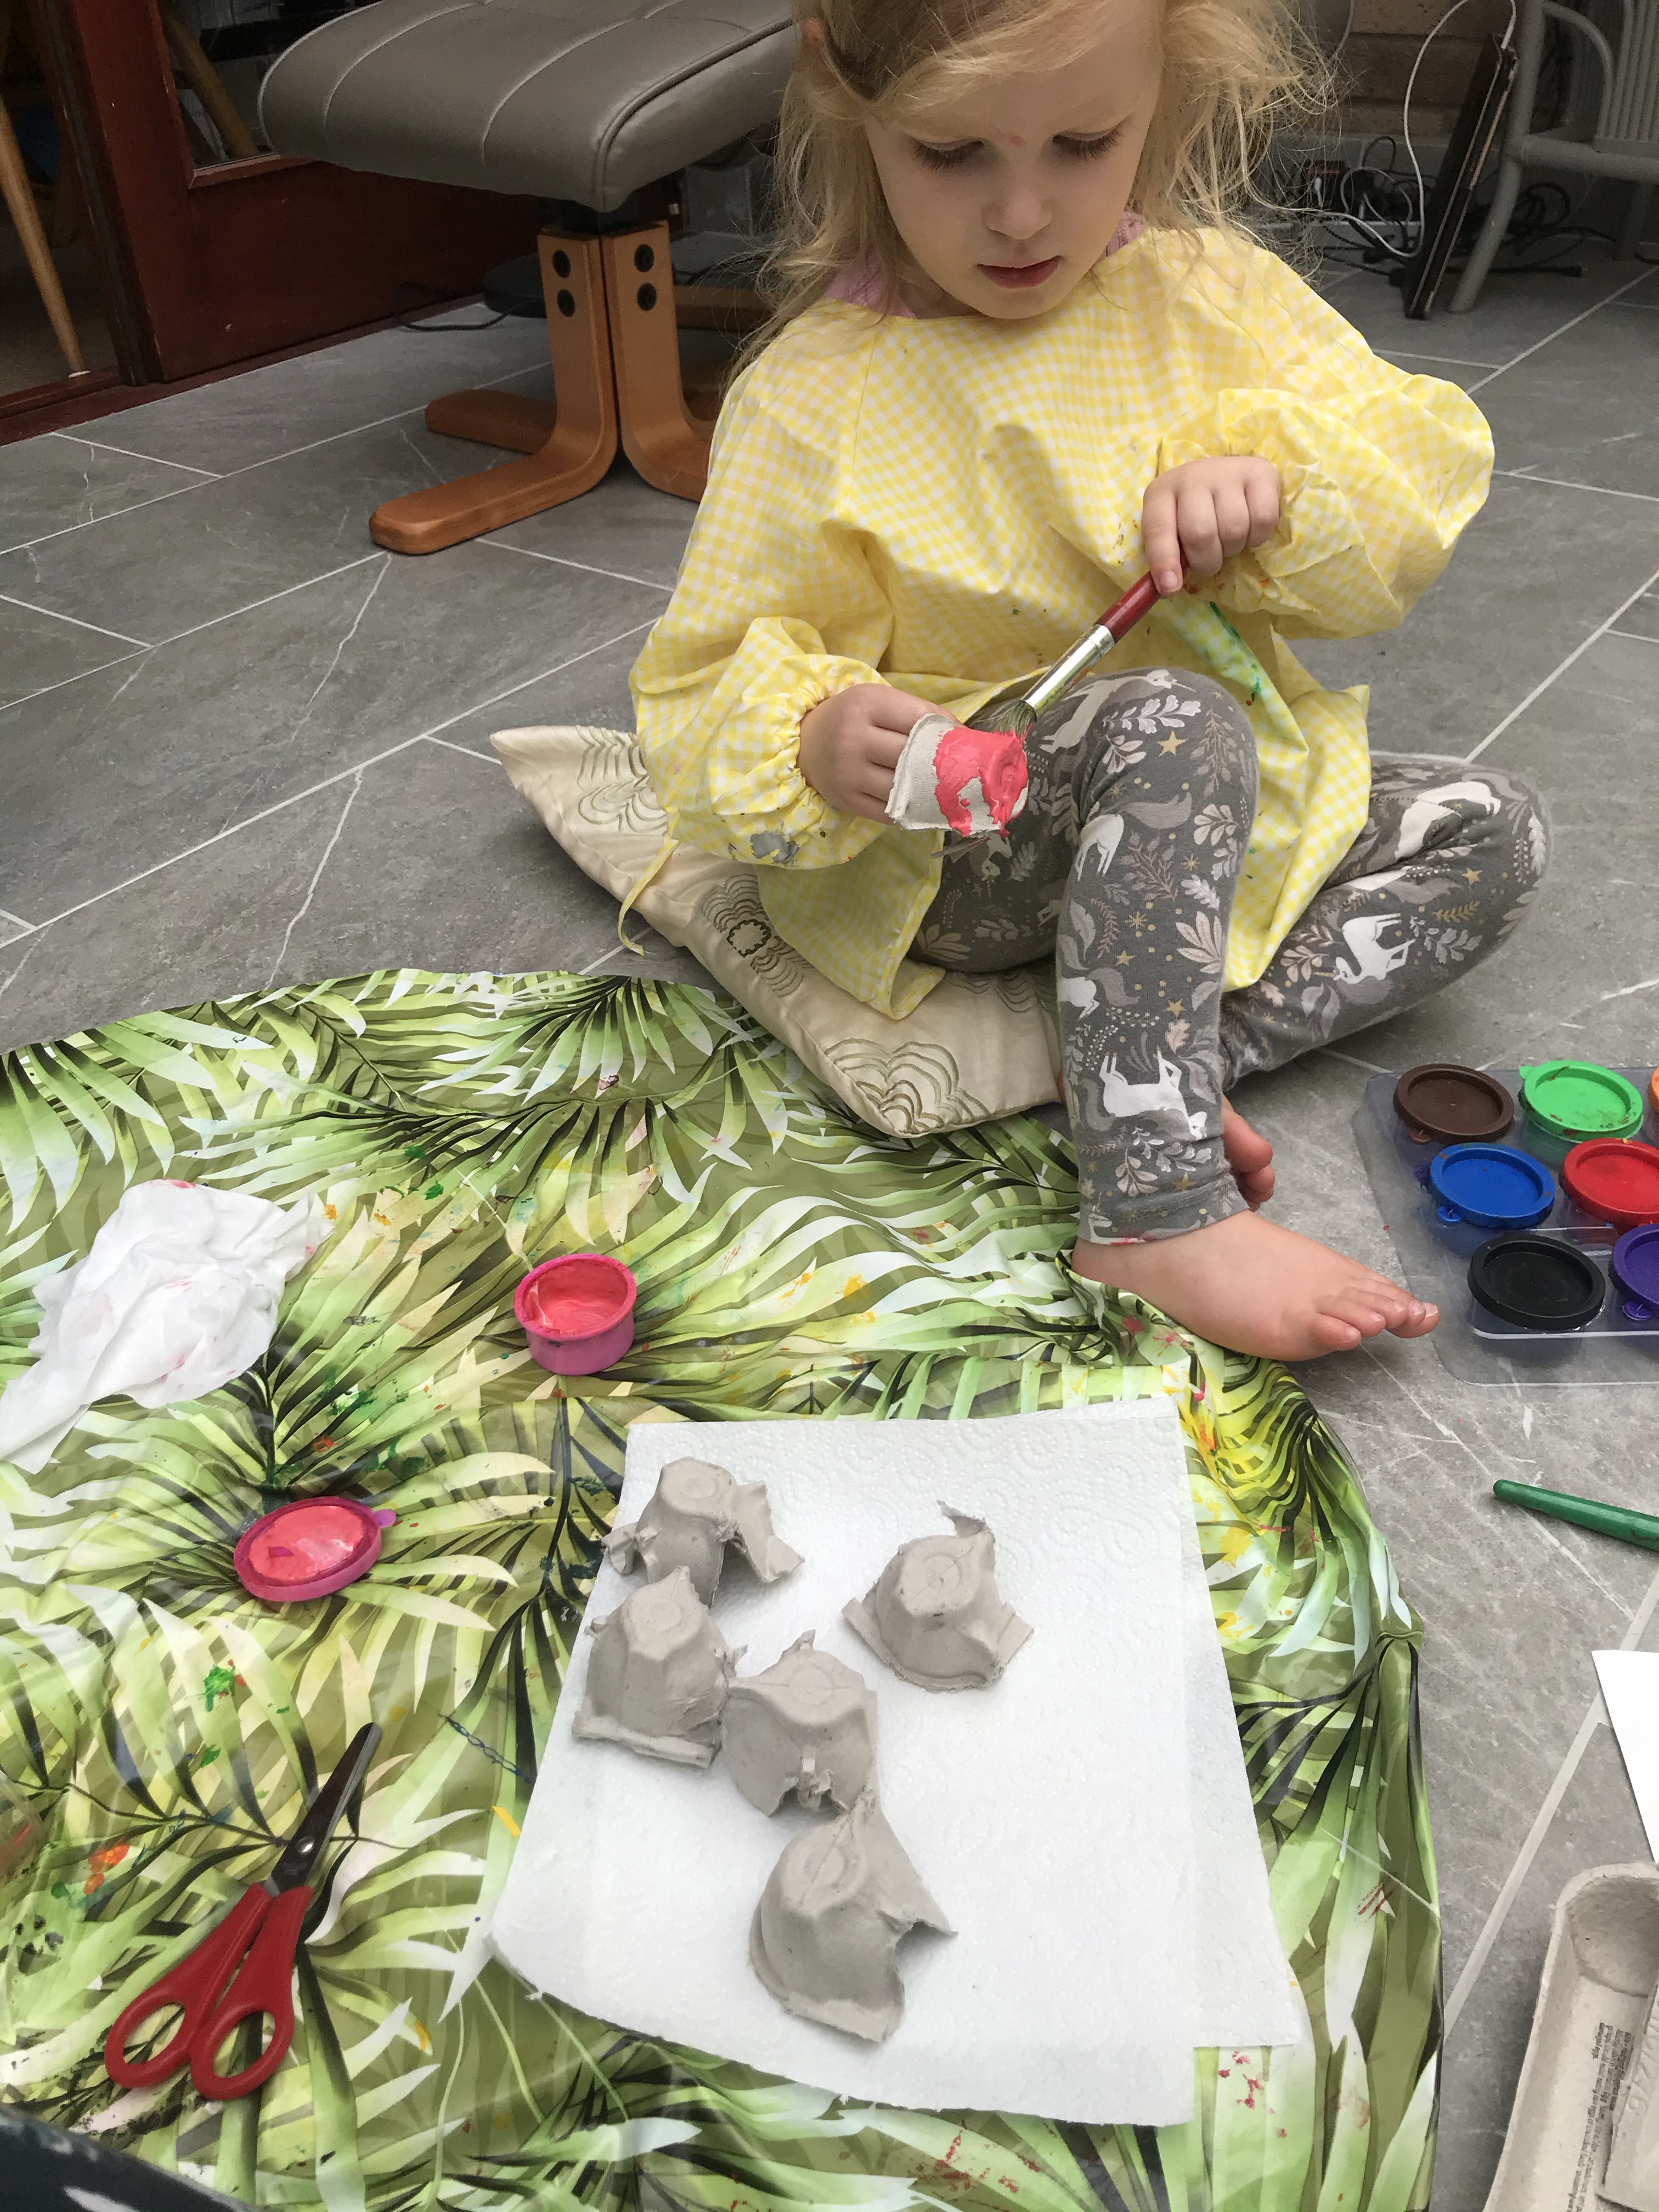
Painting the egg box sections 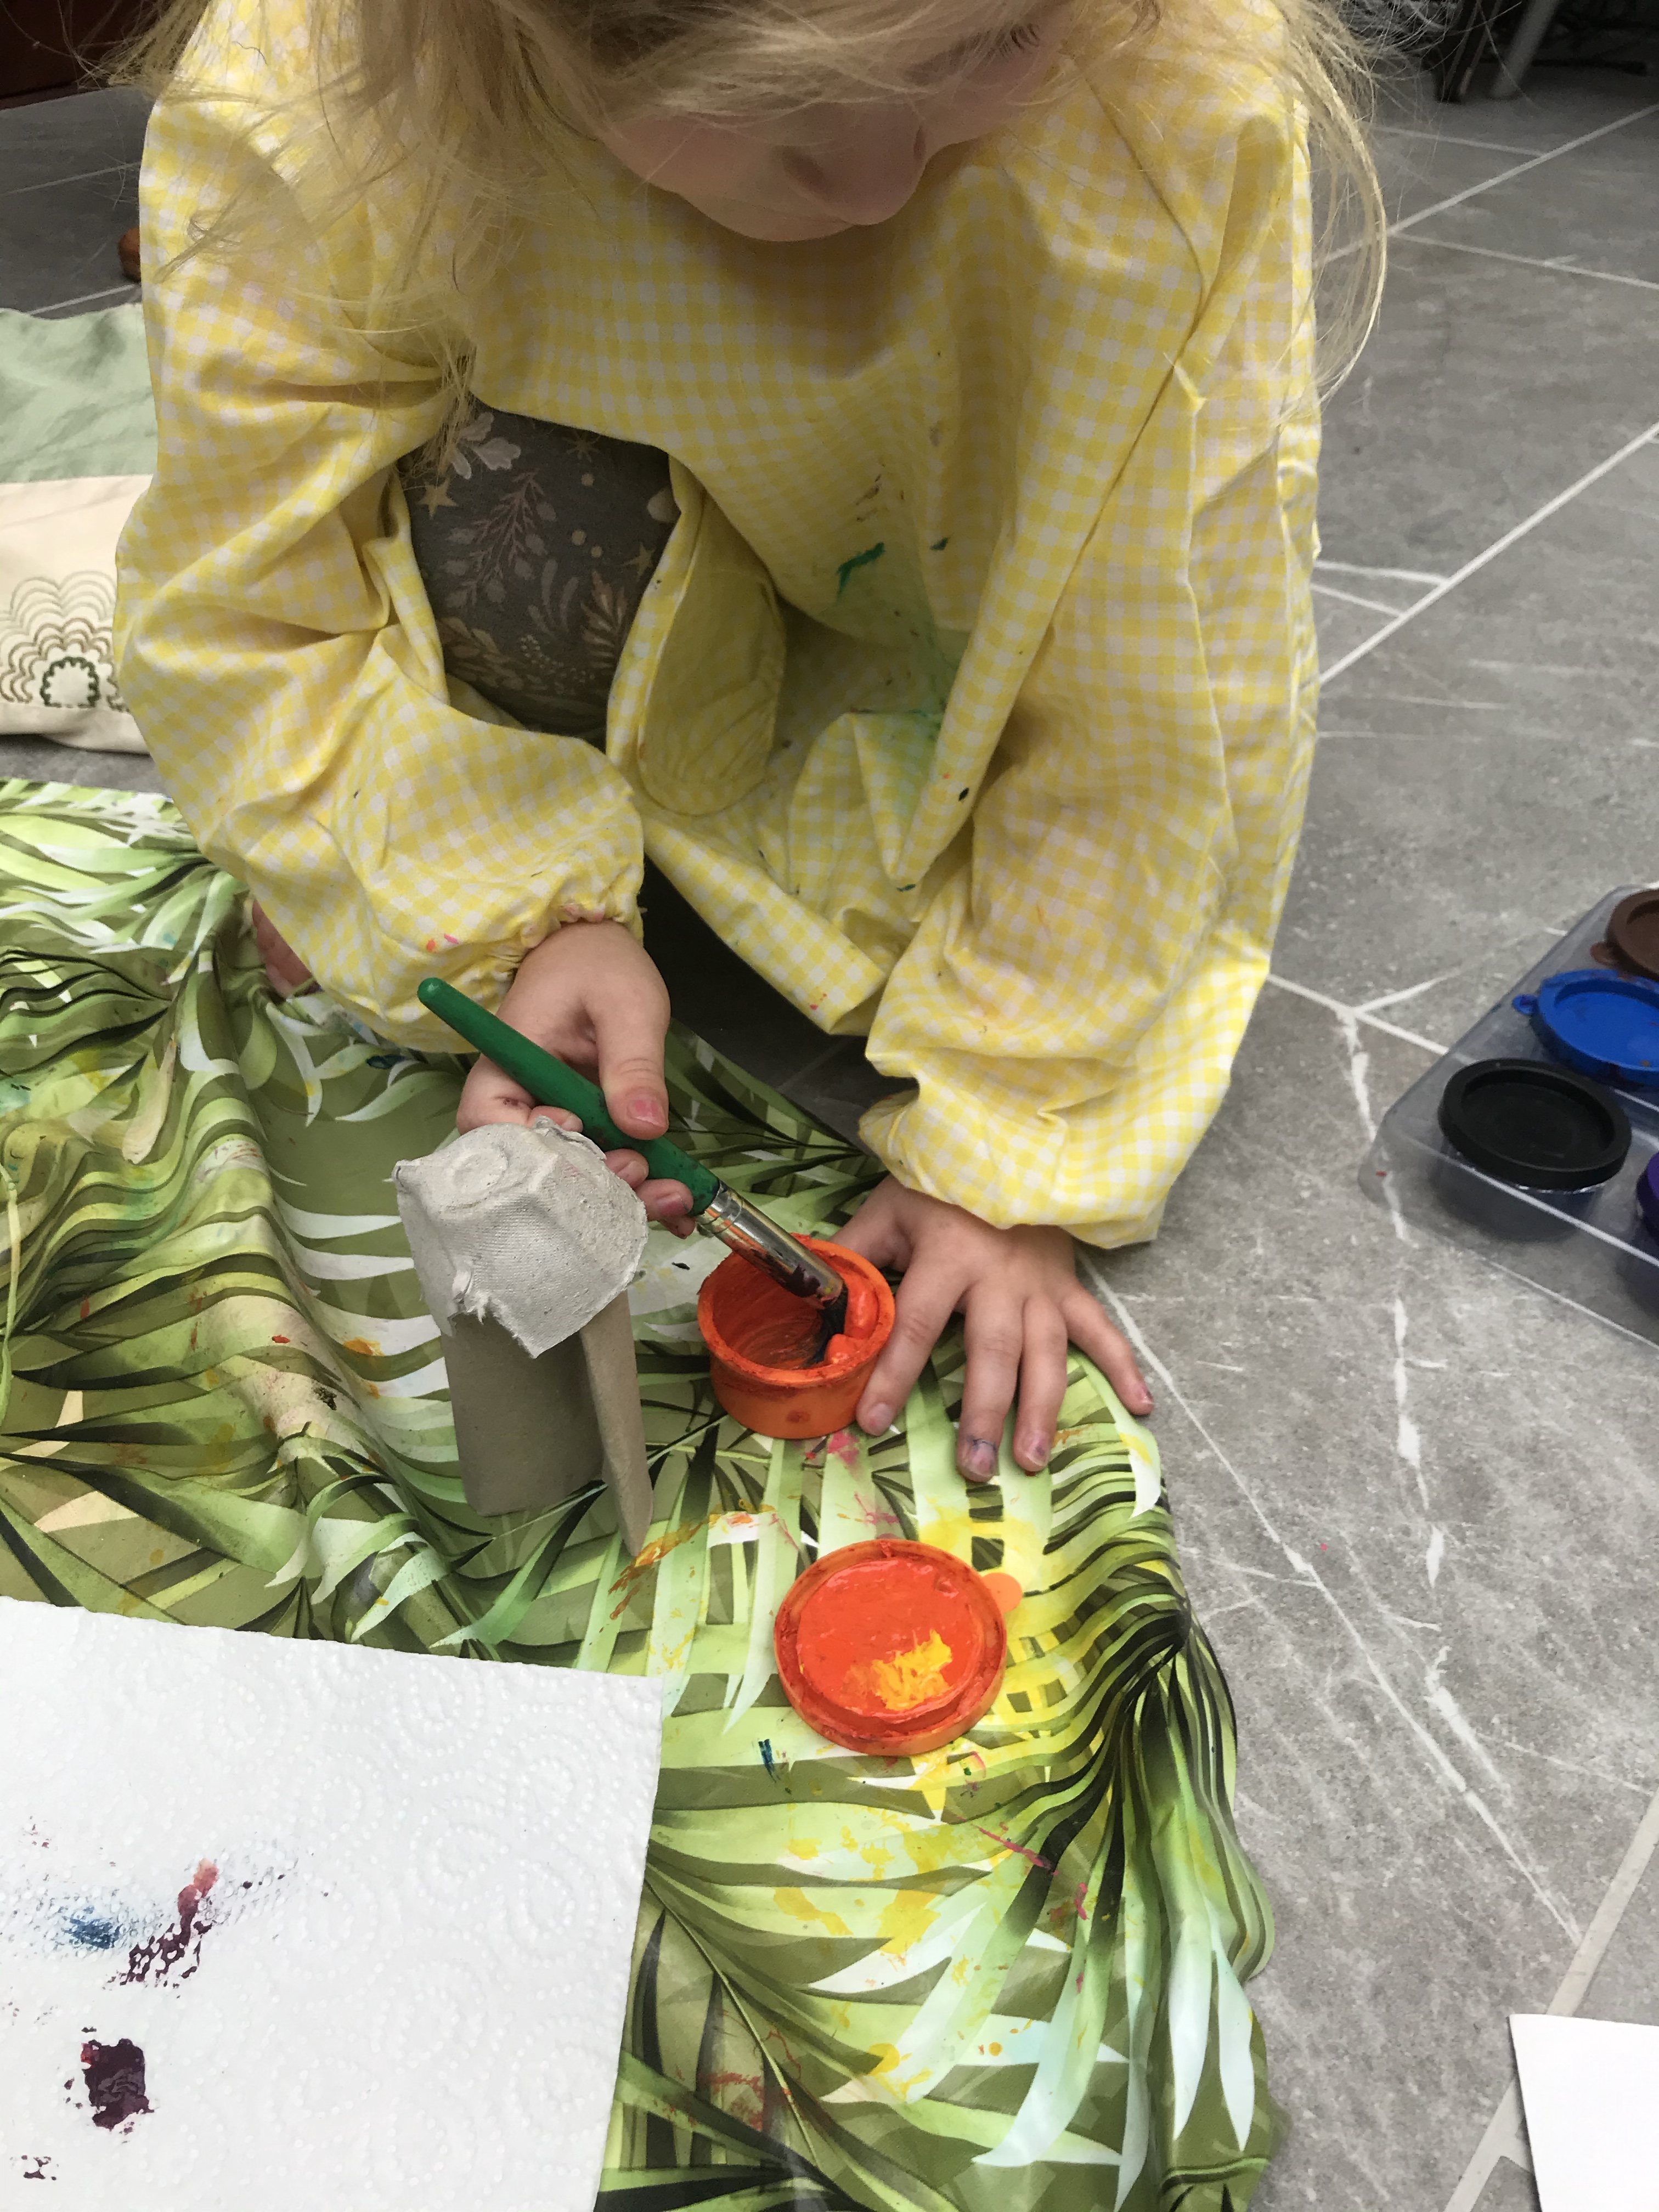
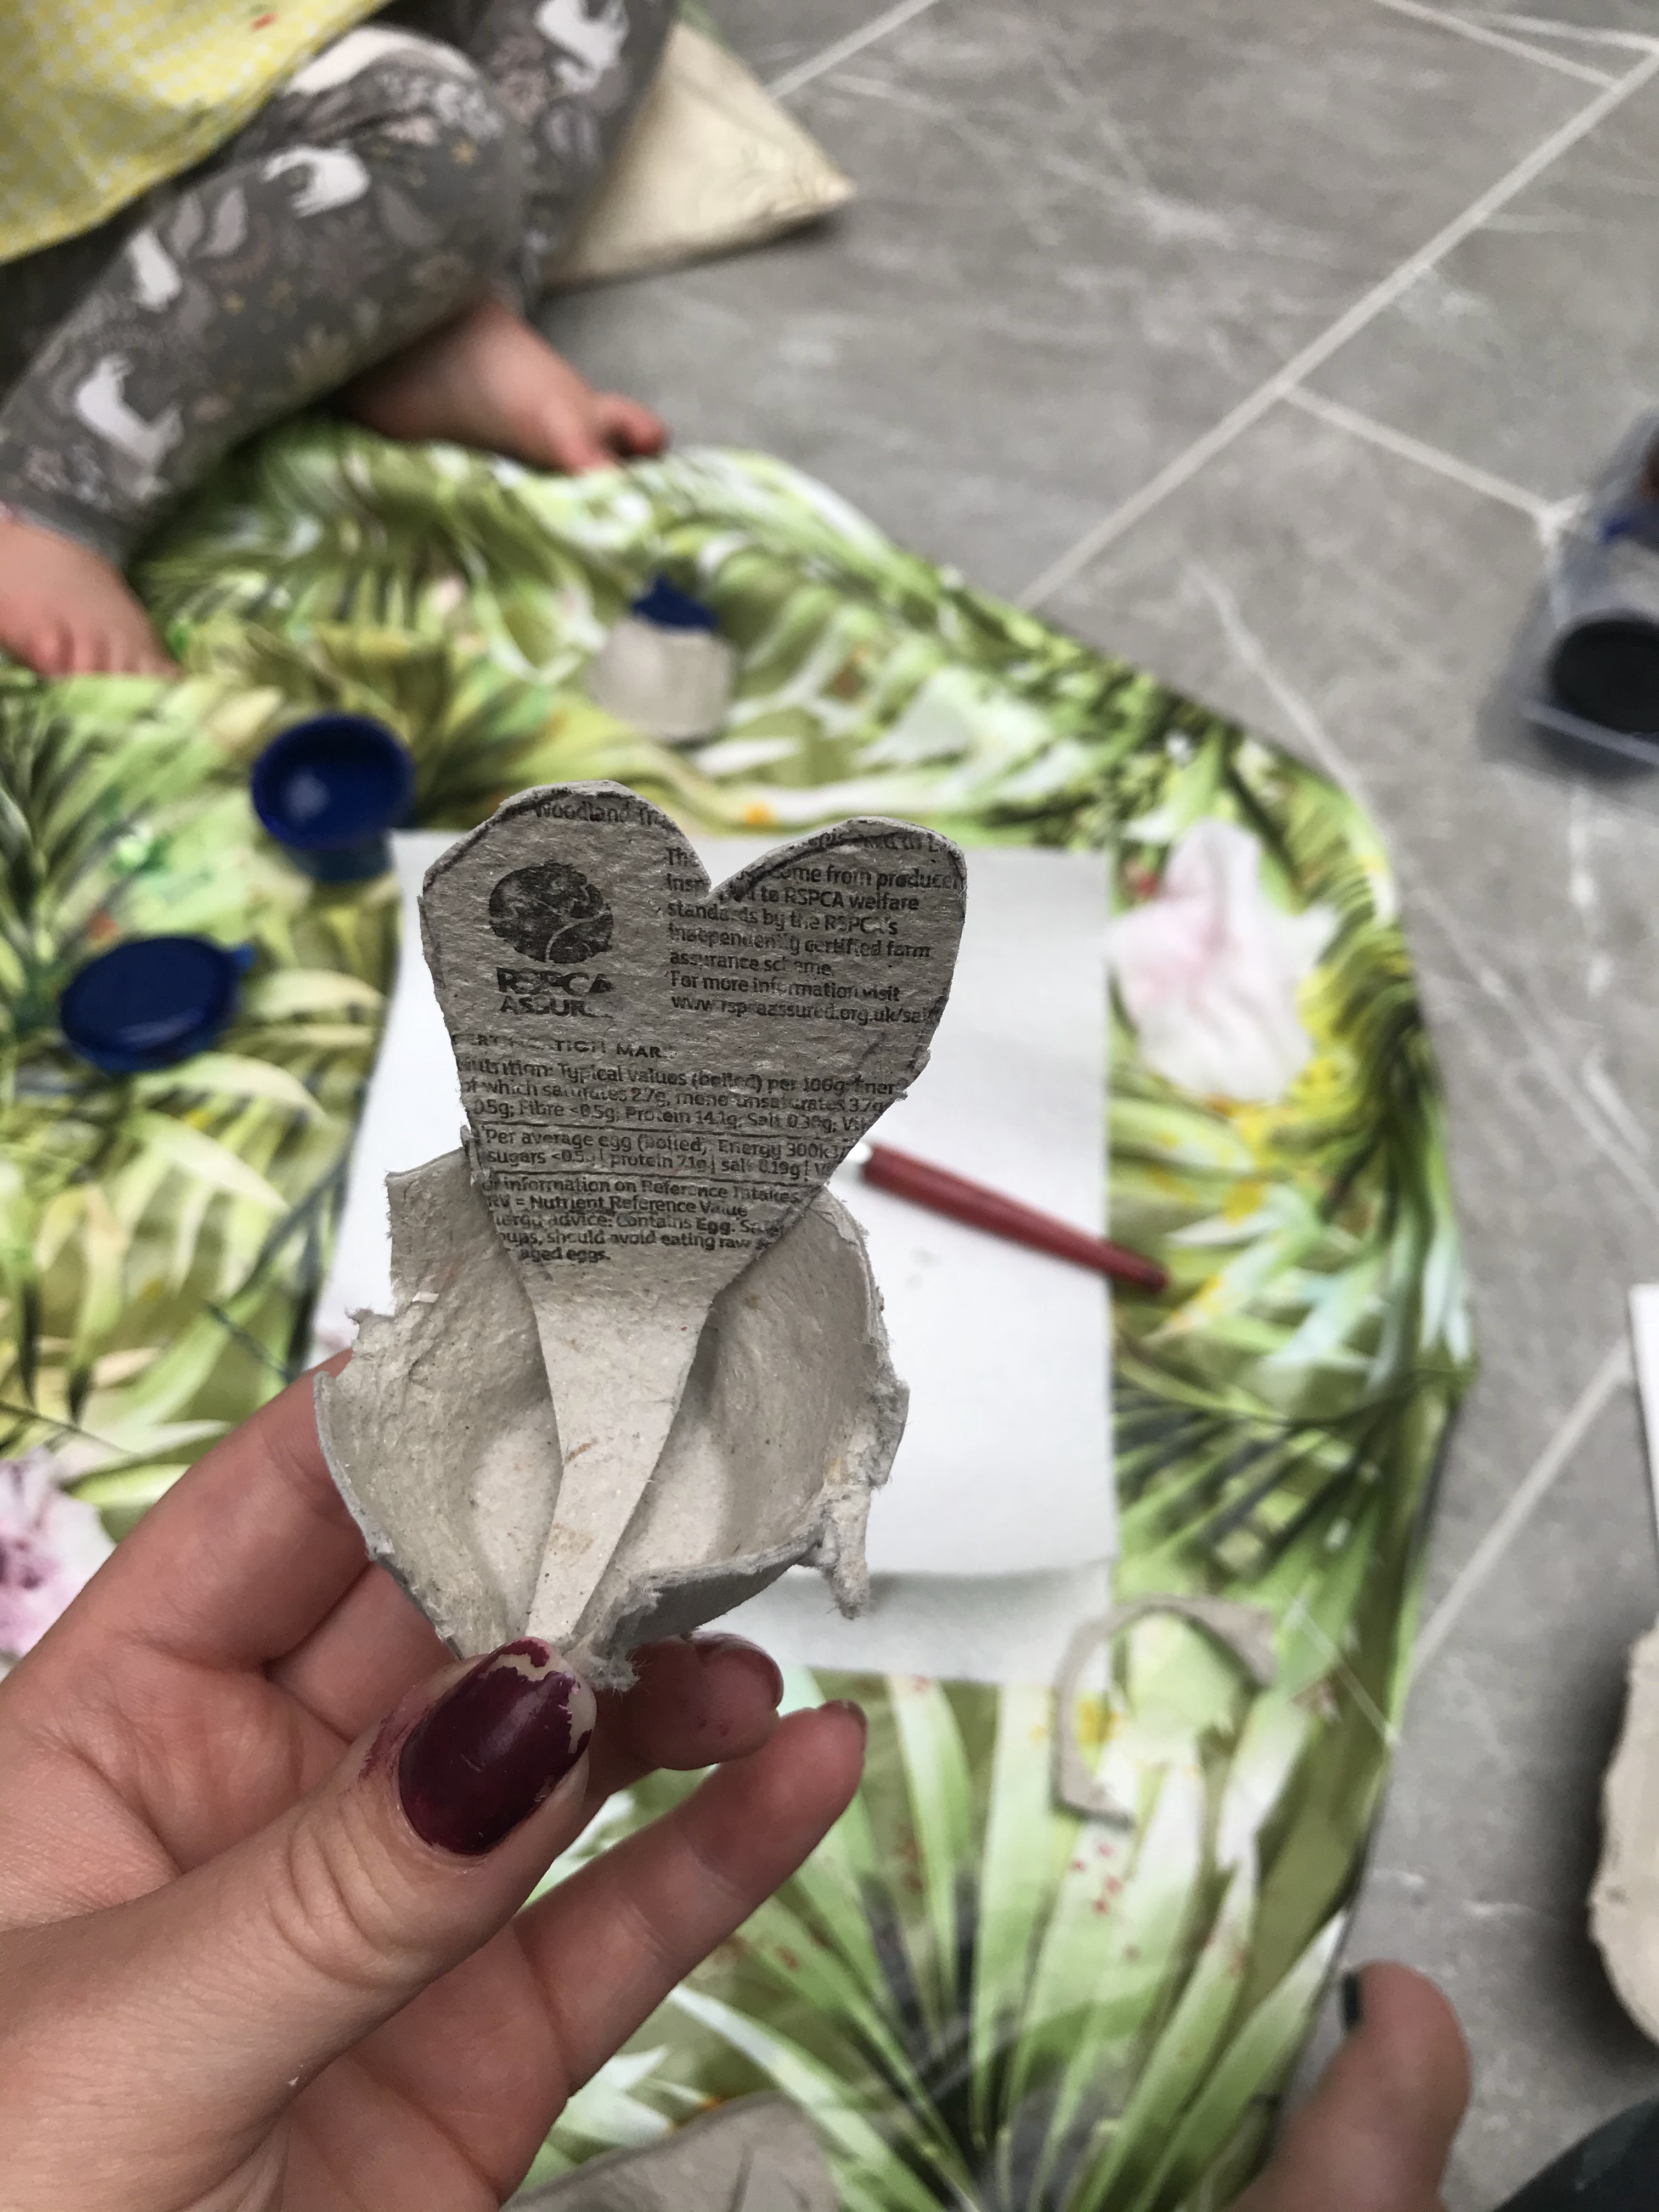
Cut out the tail 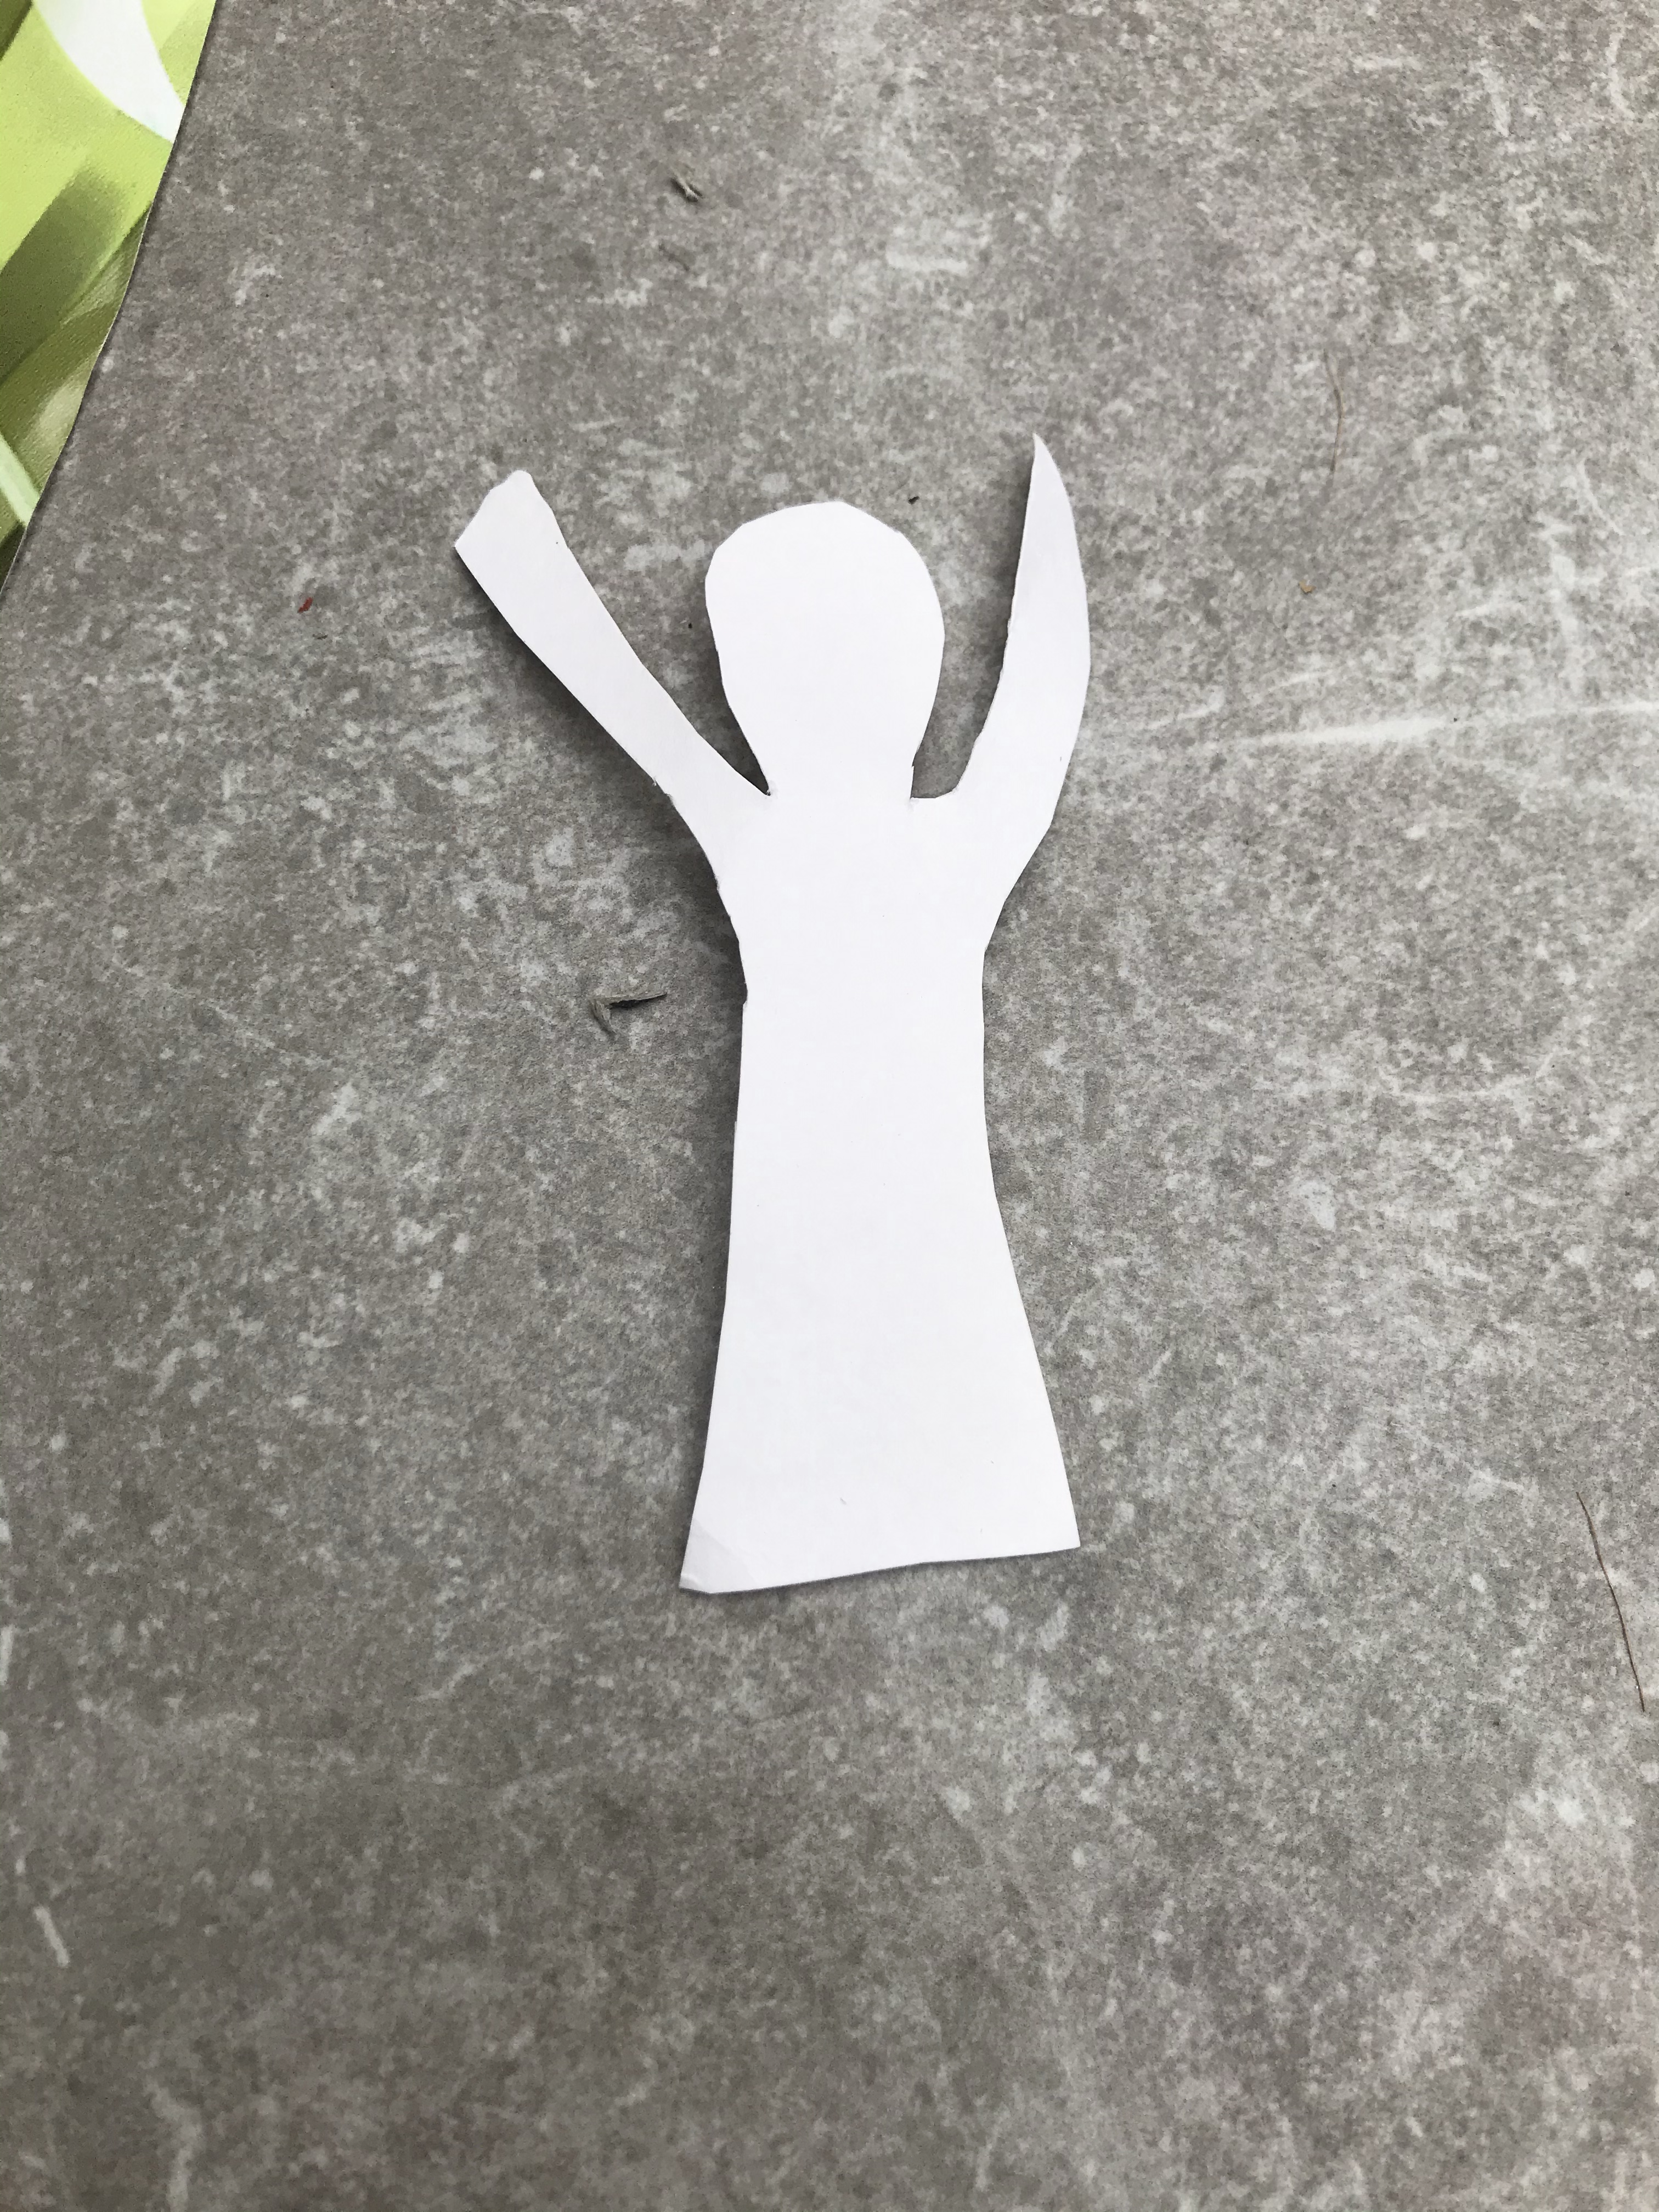
Cut out the body 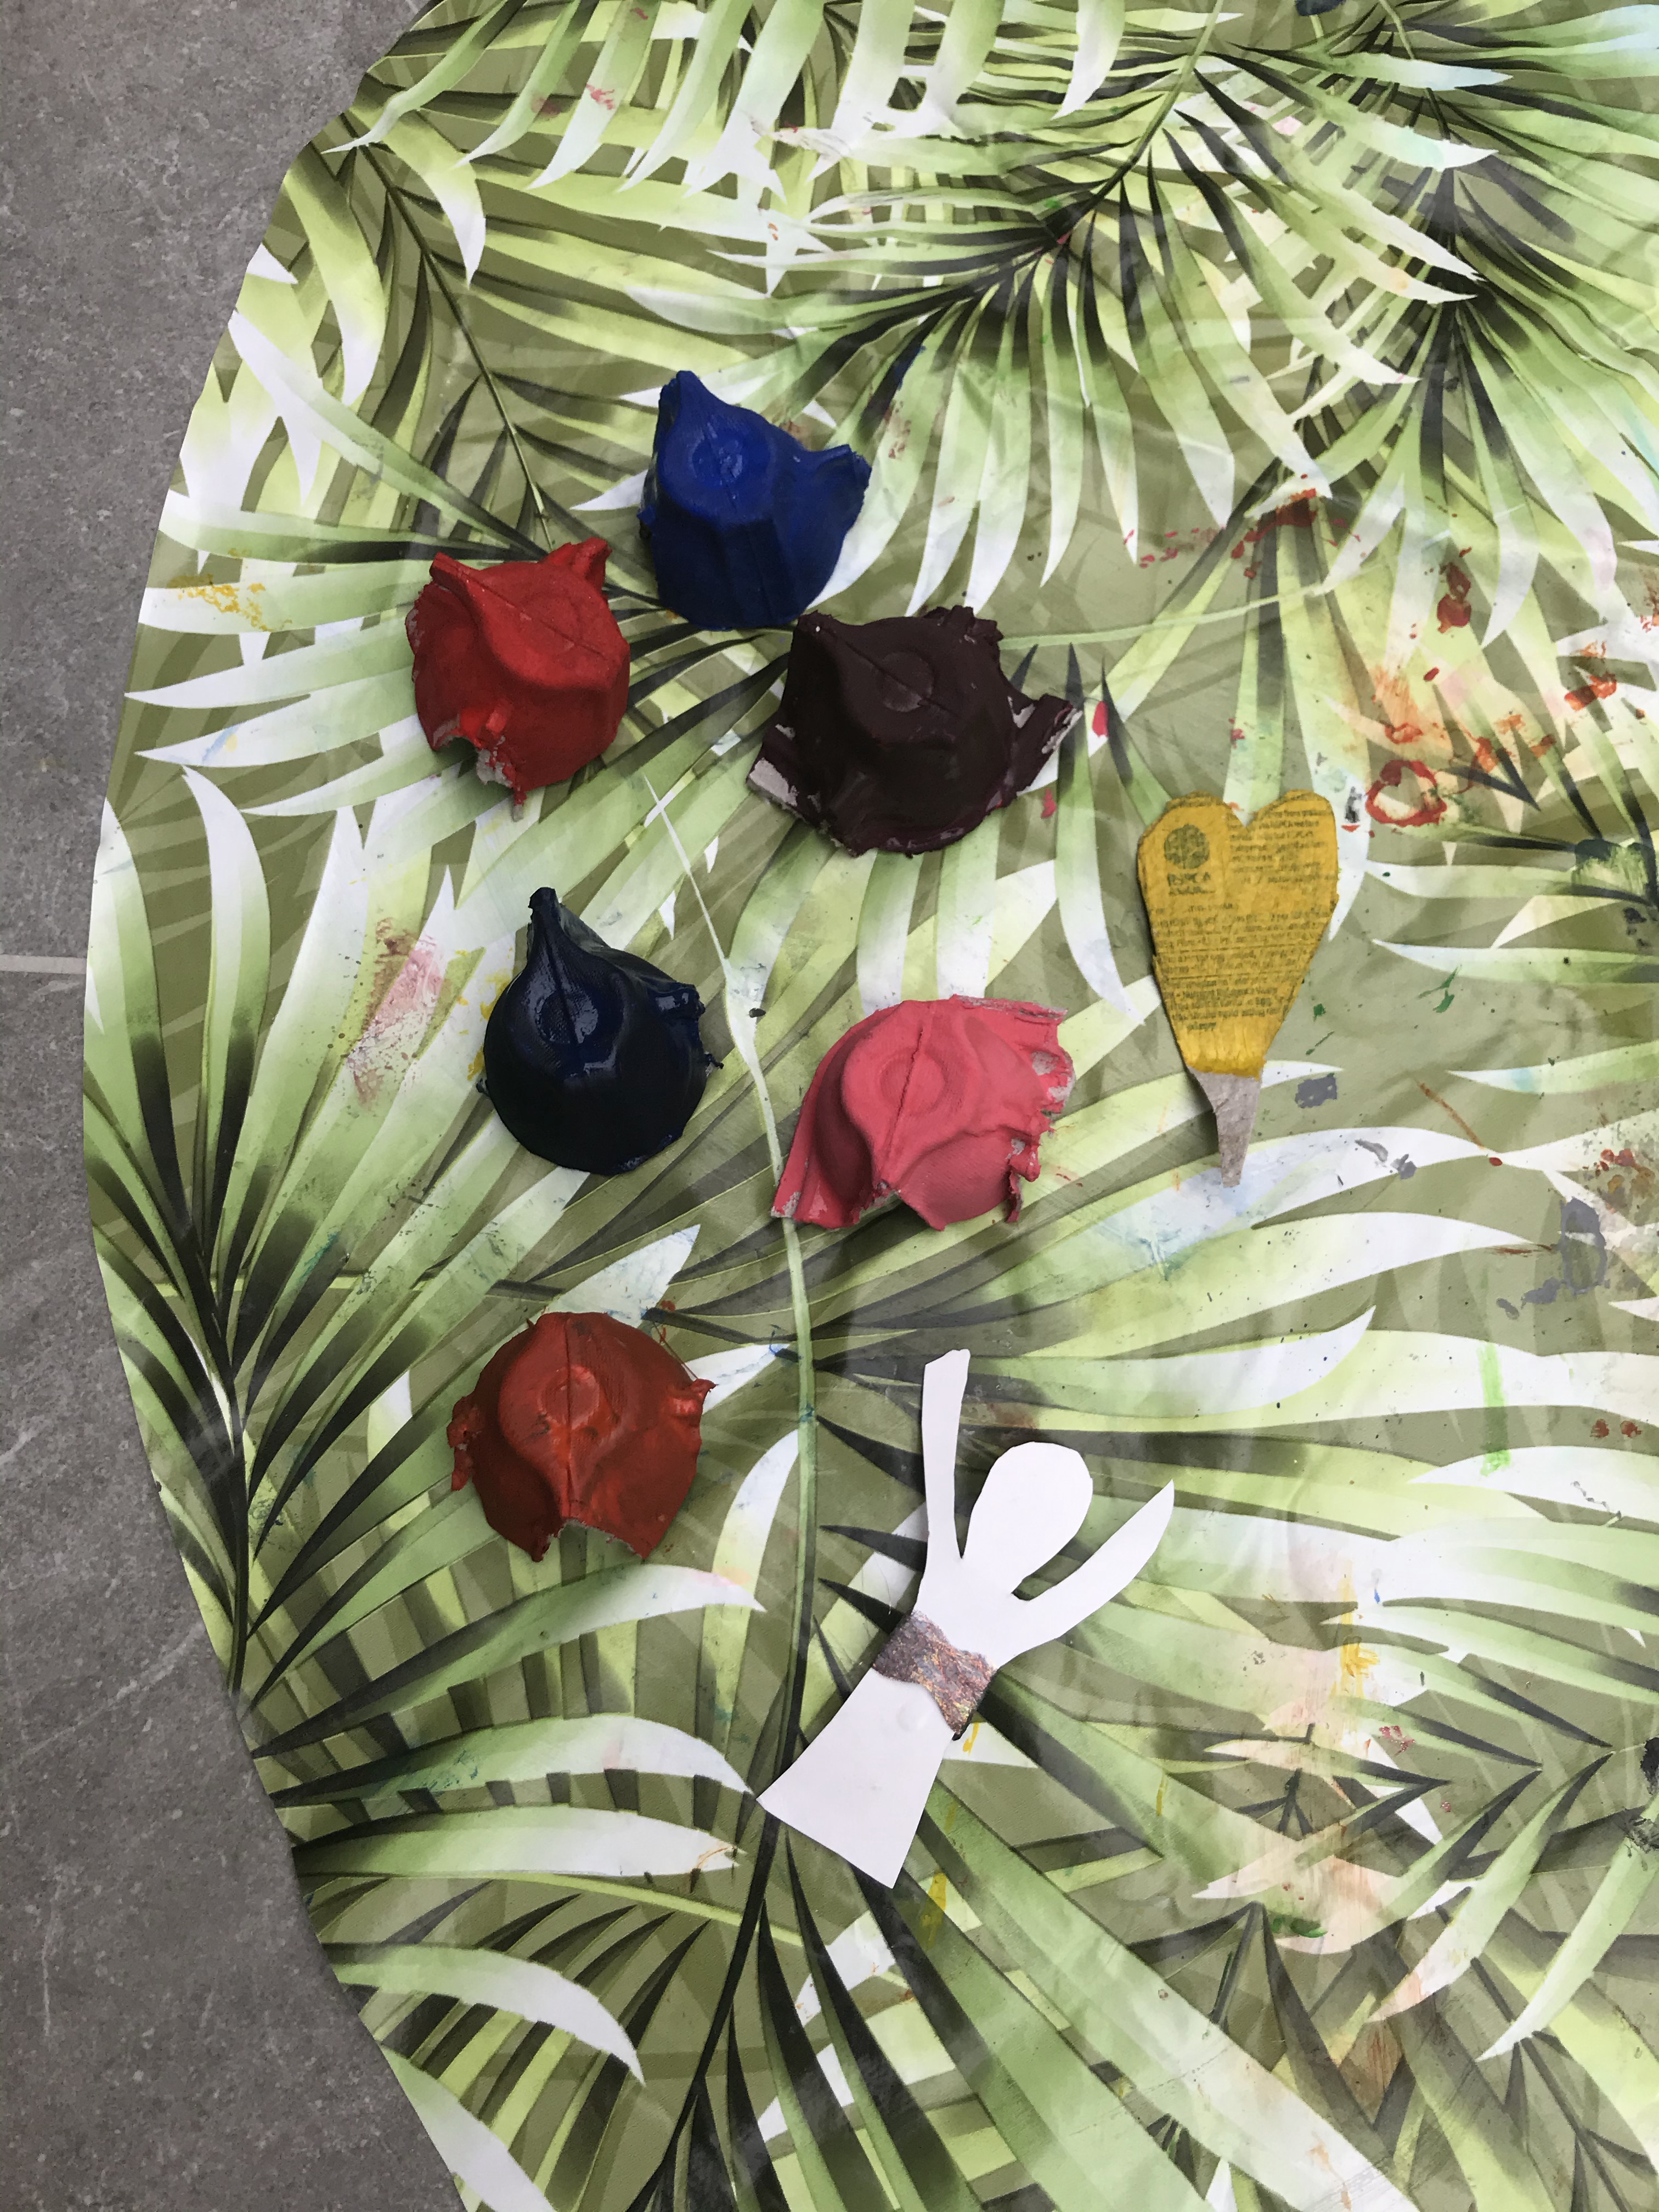
Leaving to dry 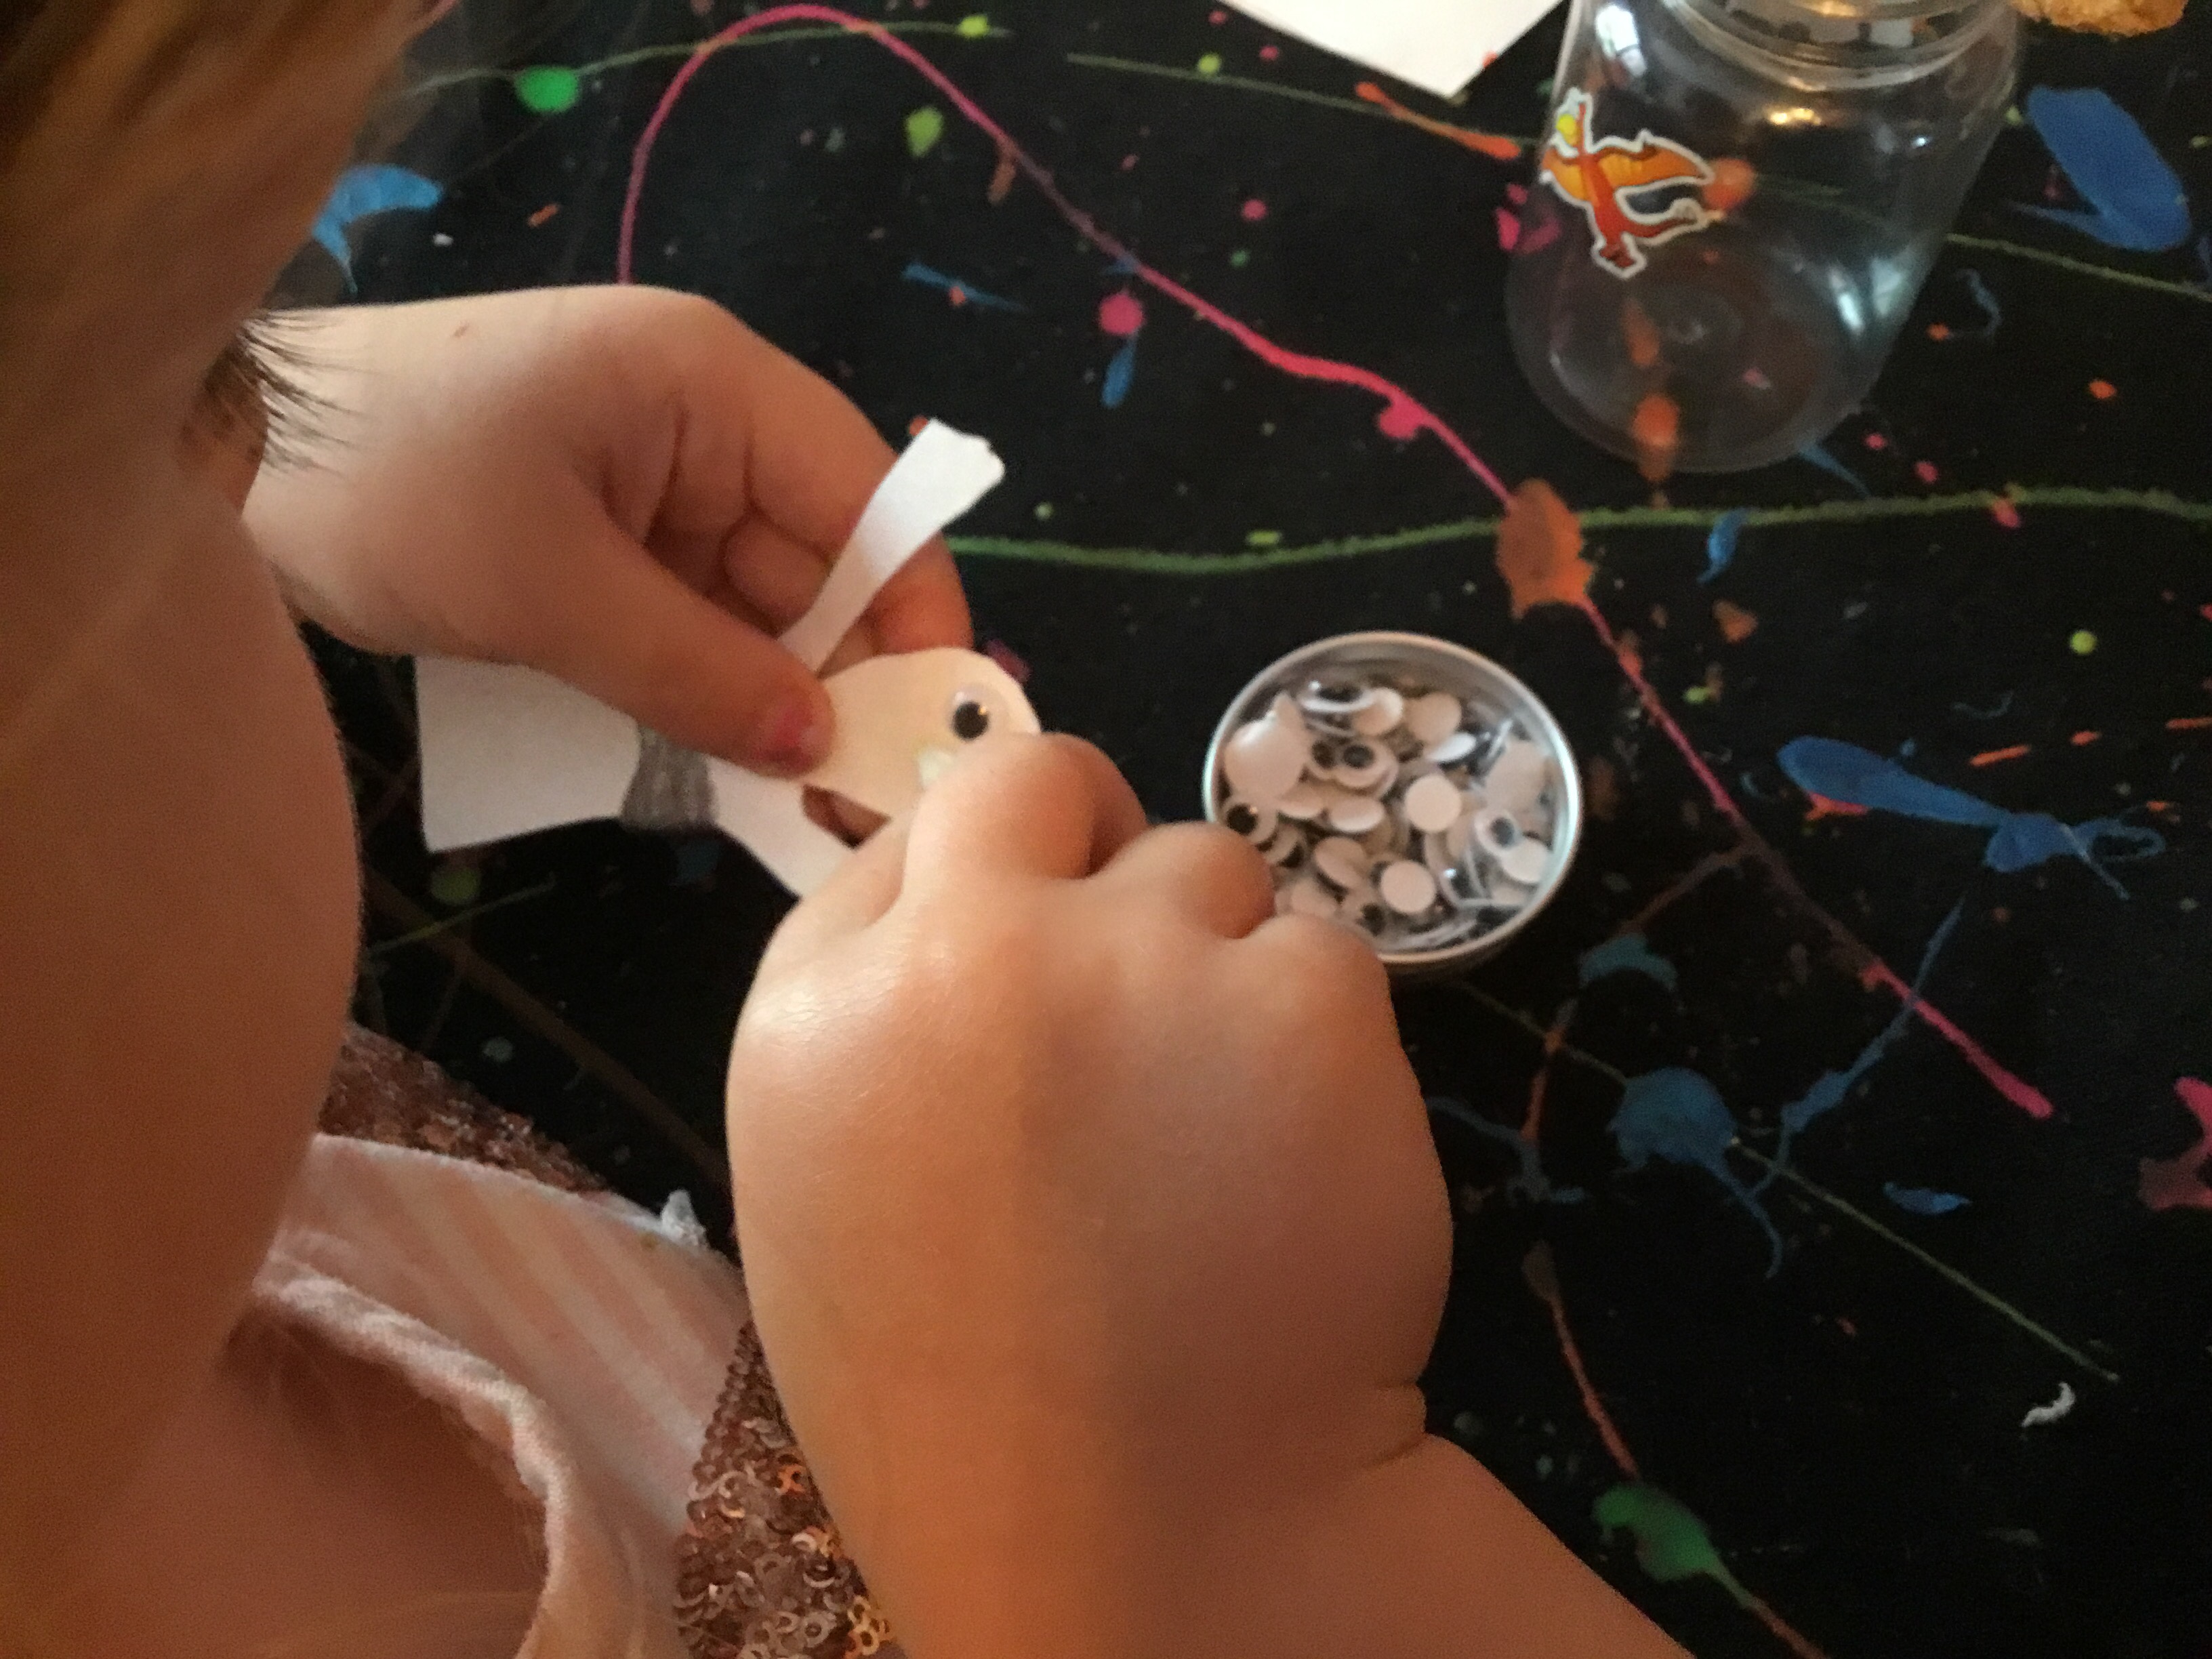
Adding a face 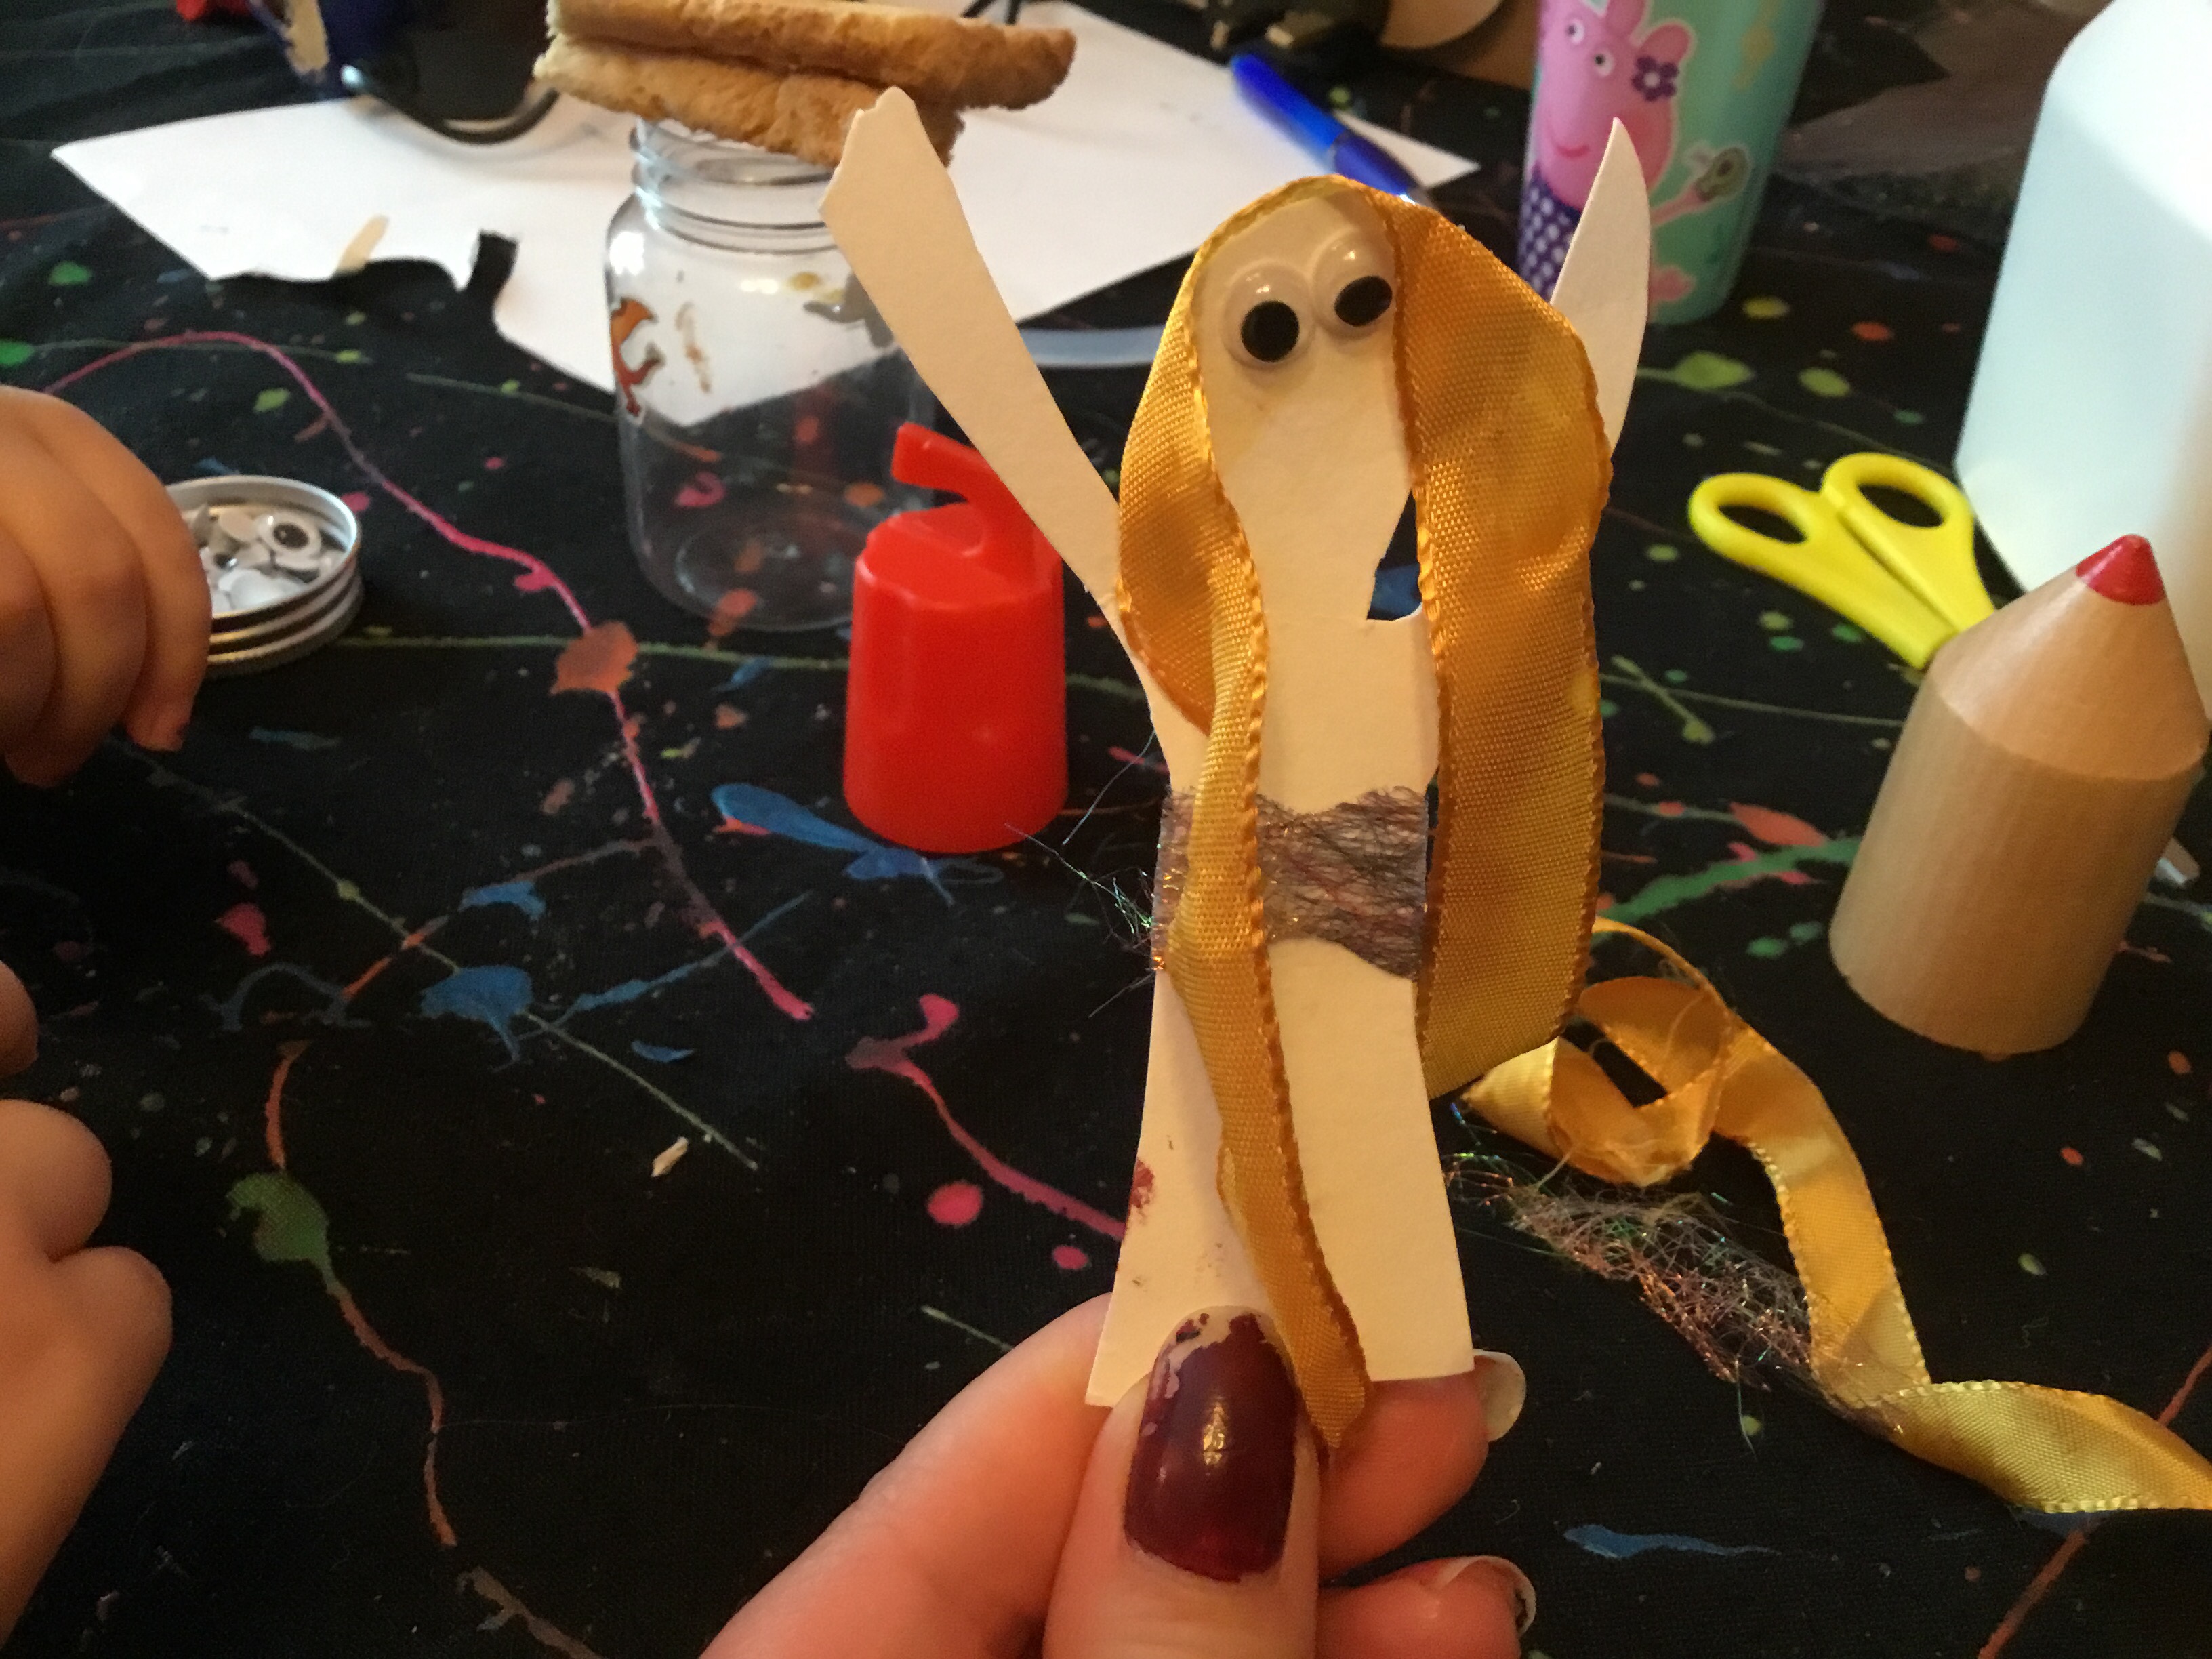
And some hair 
Threading through the ribbon and tying a knot. 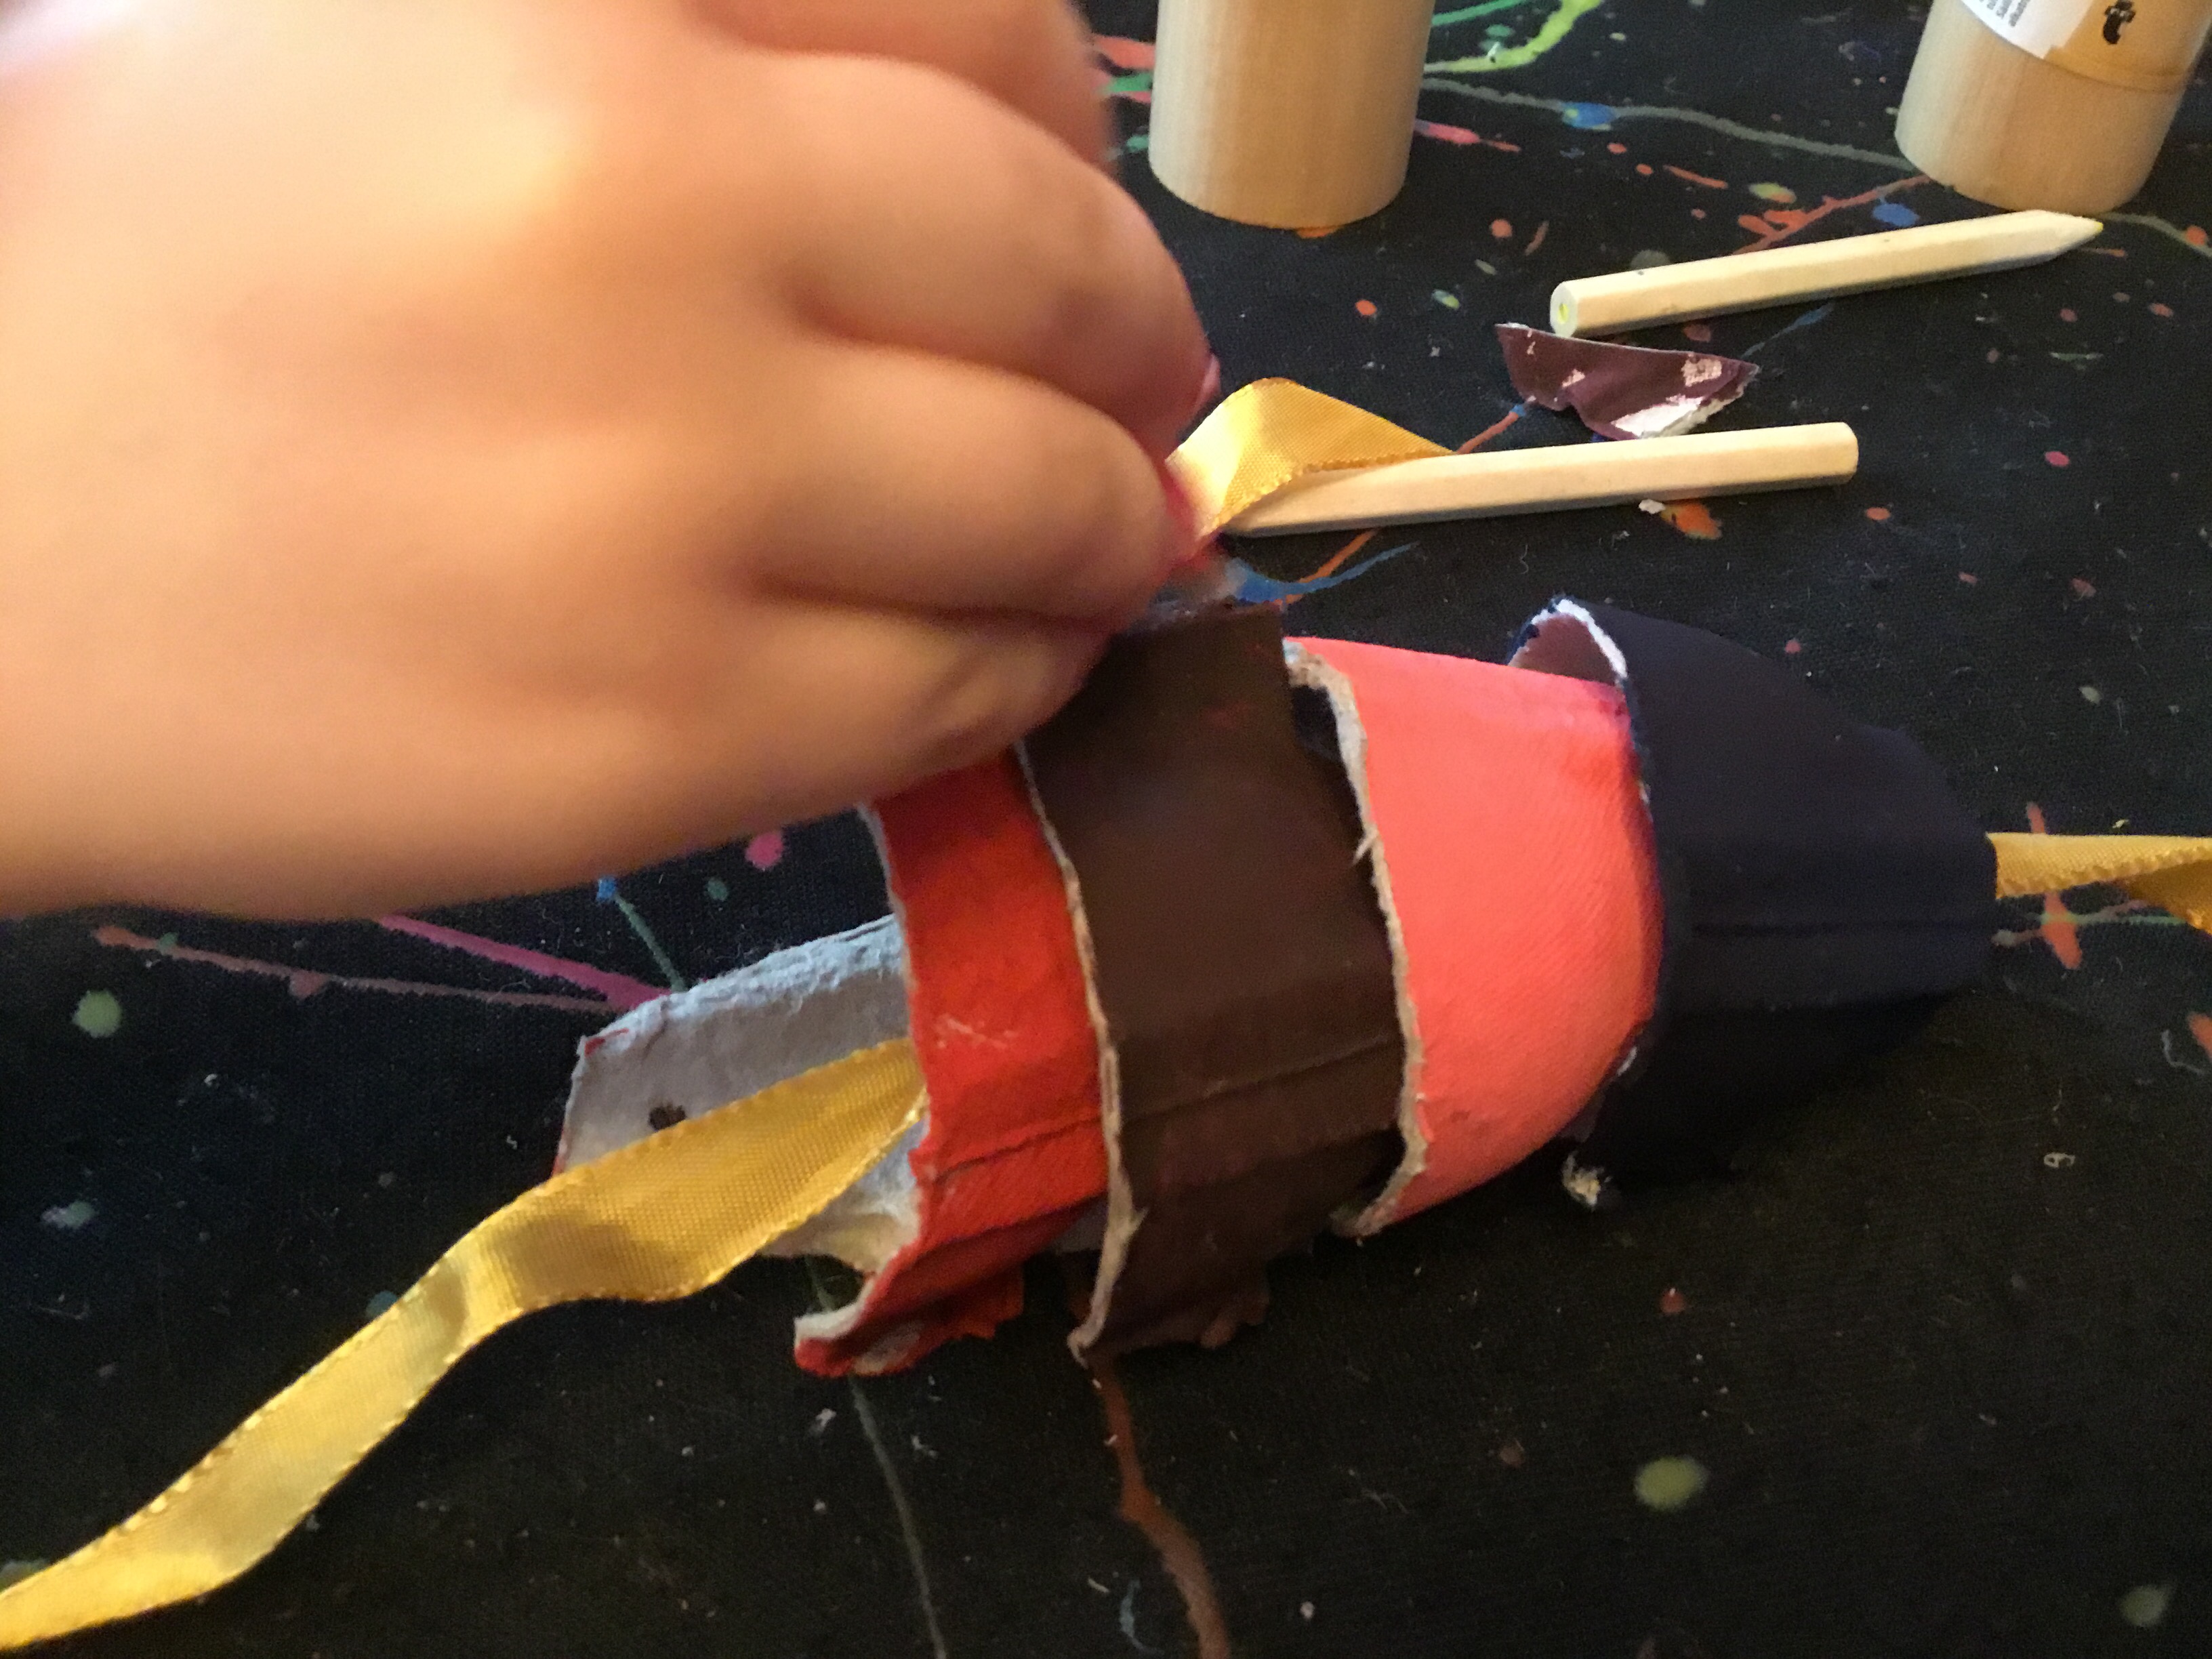
Checking the tail sections are evenly spaced. 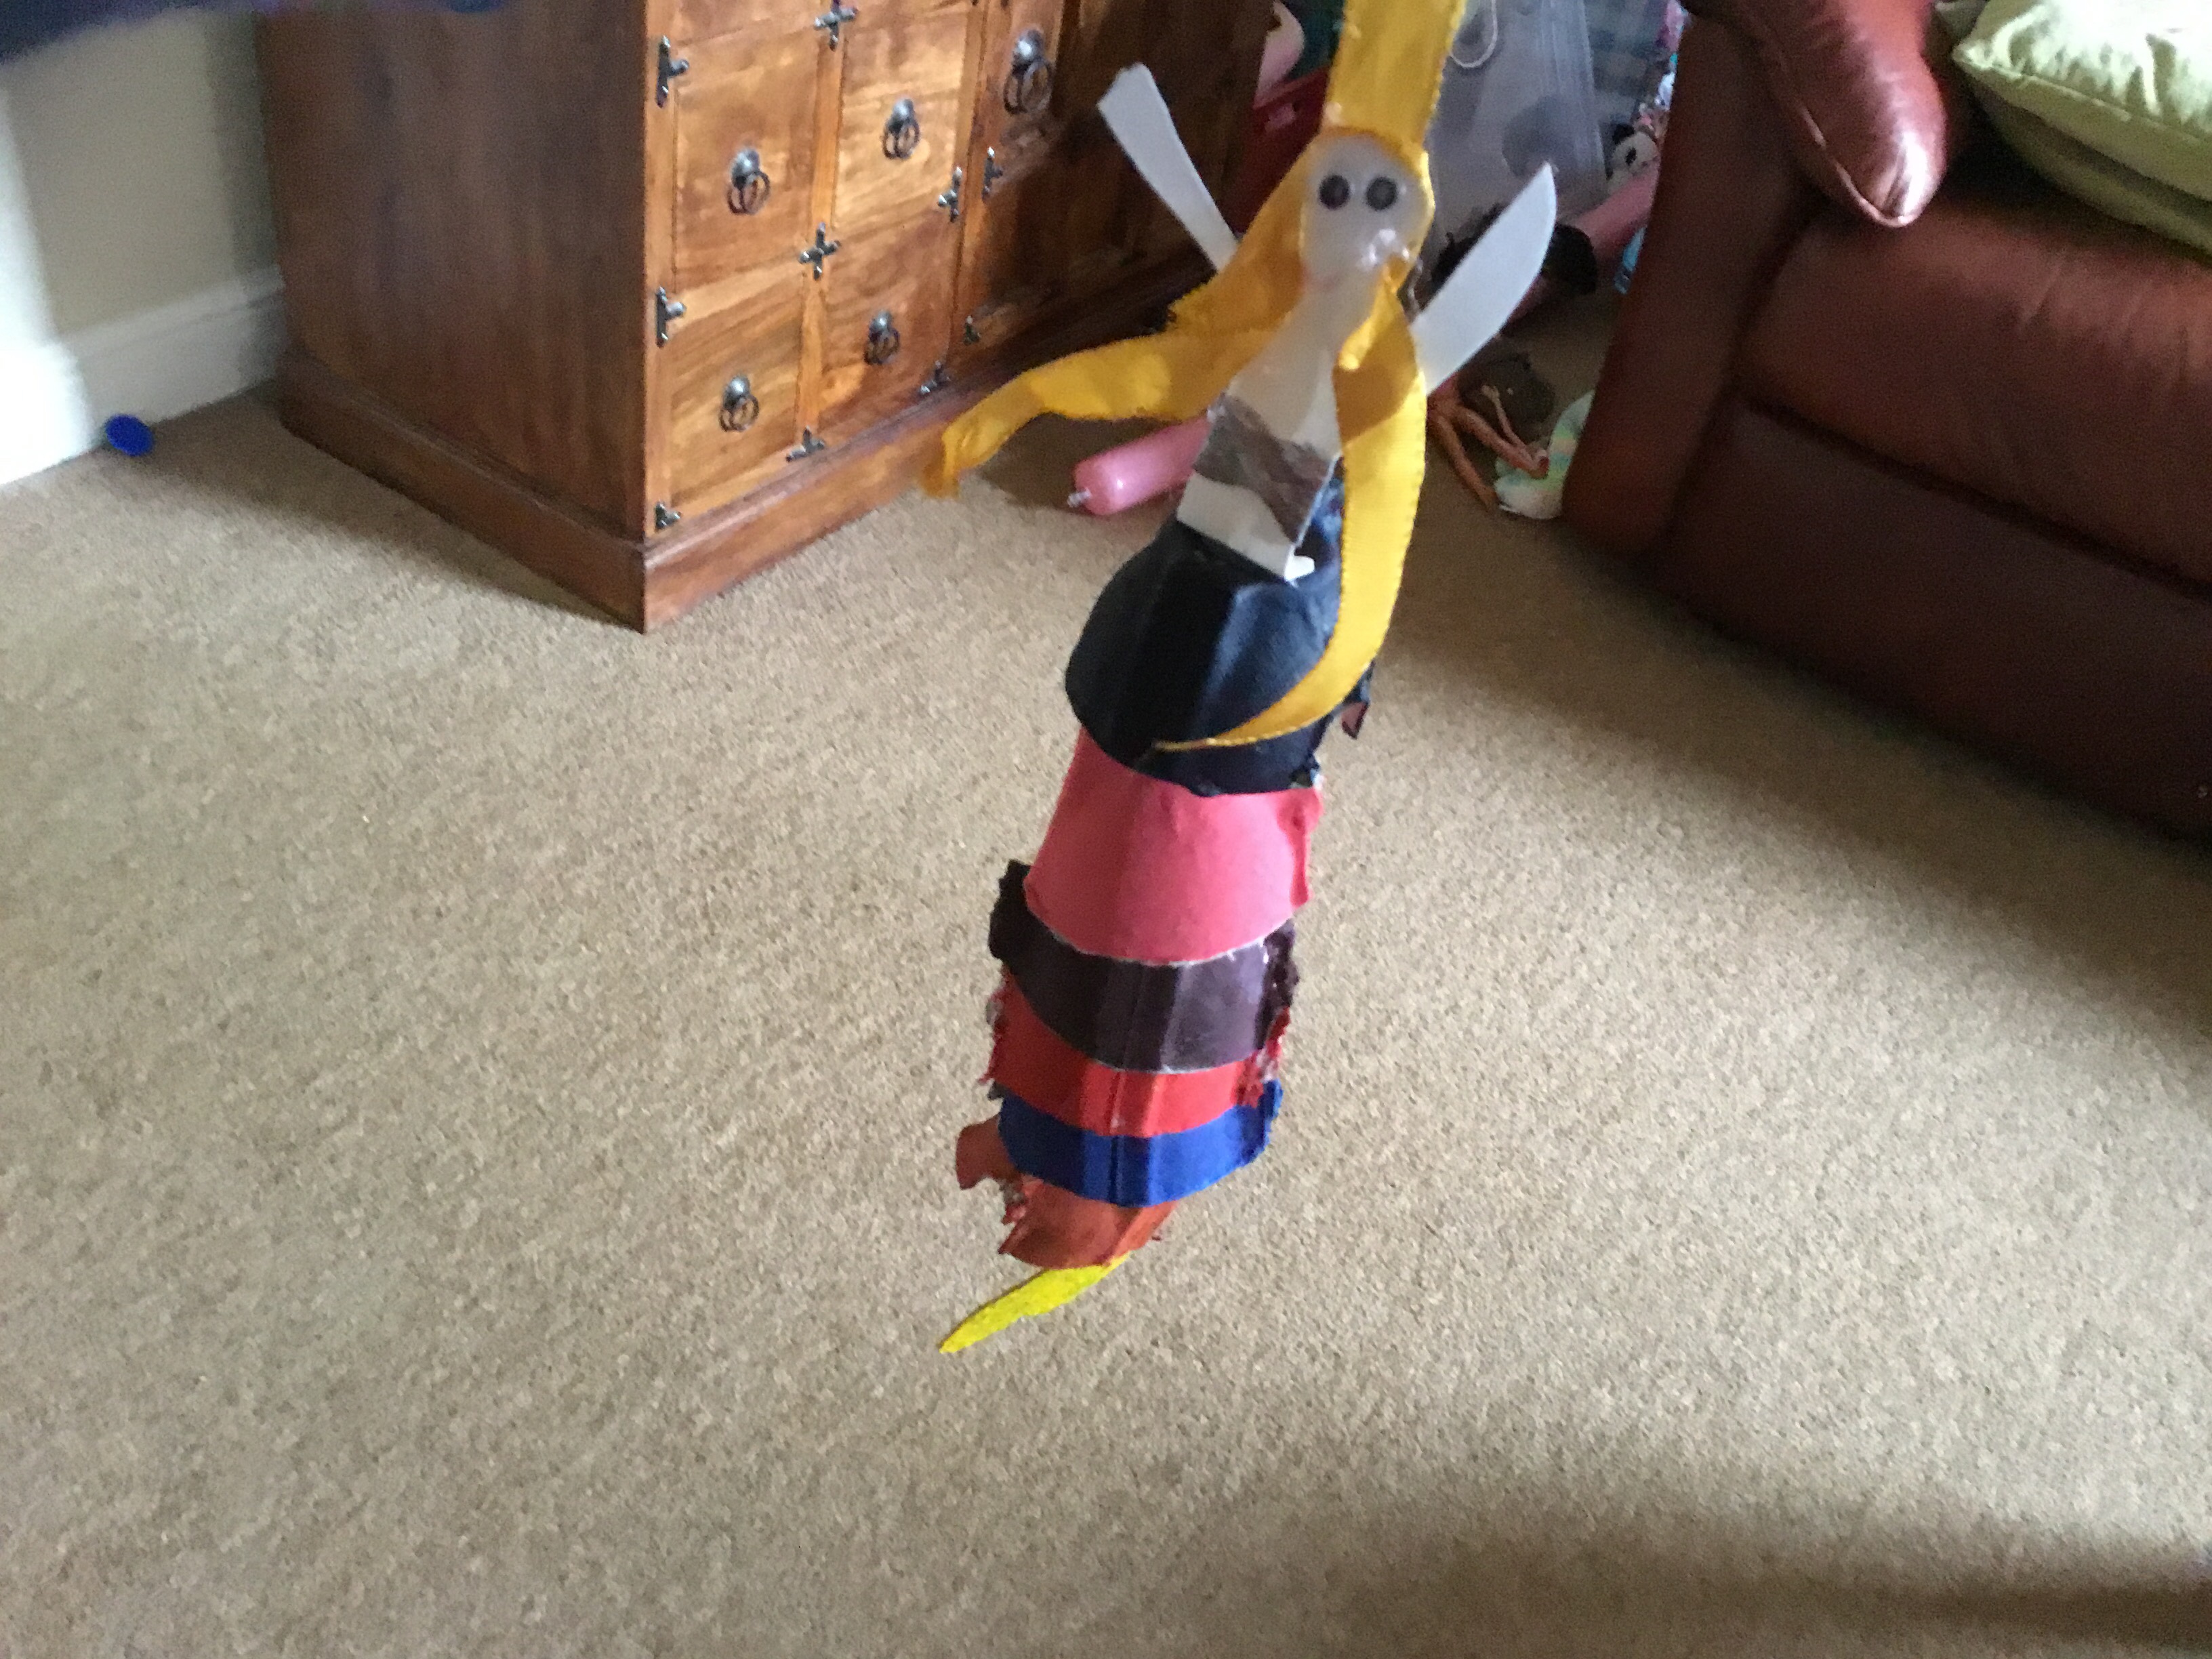
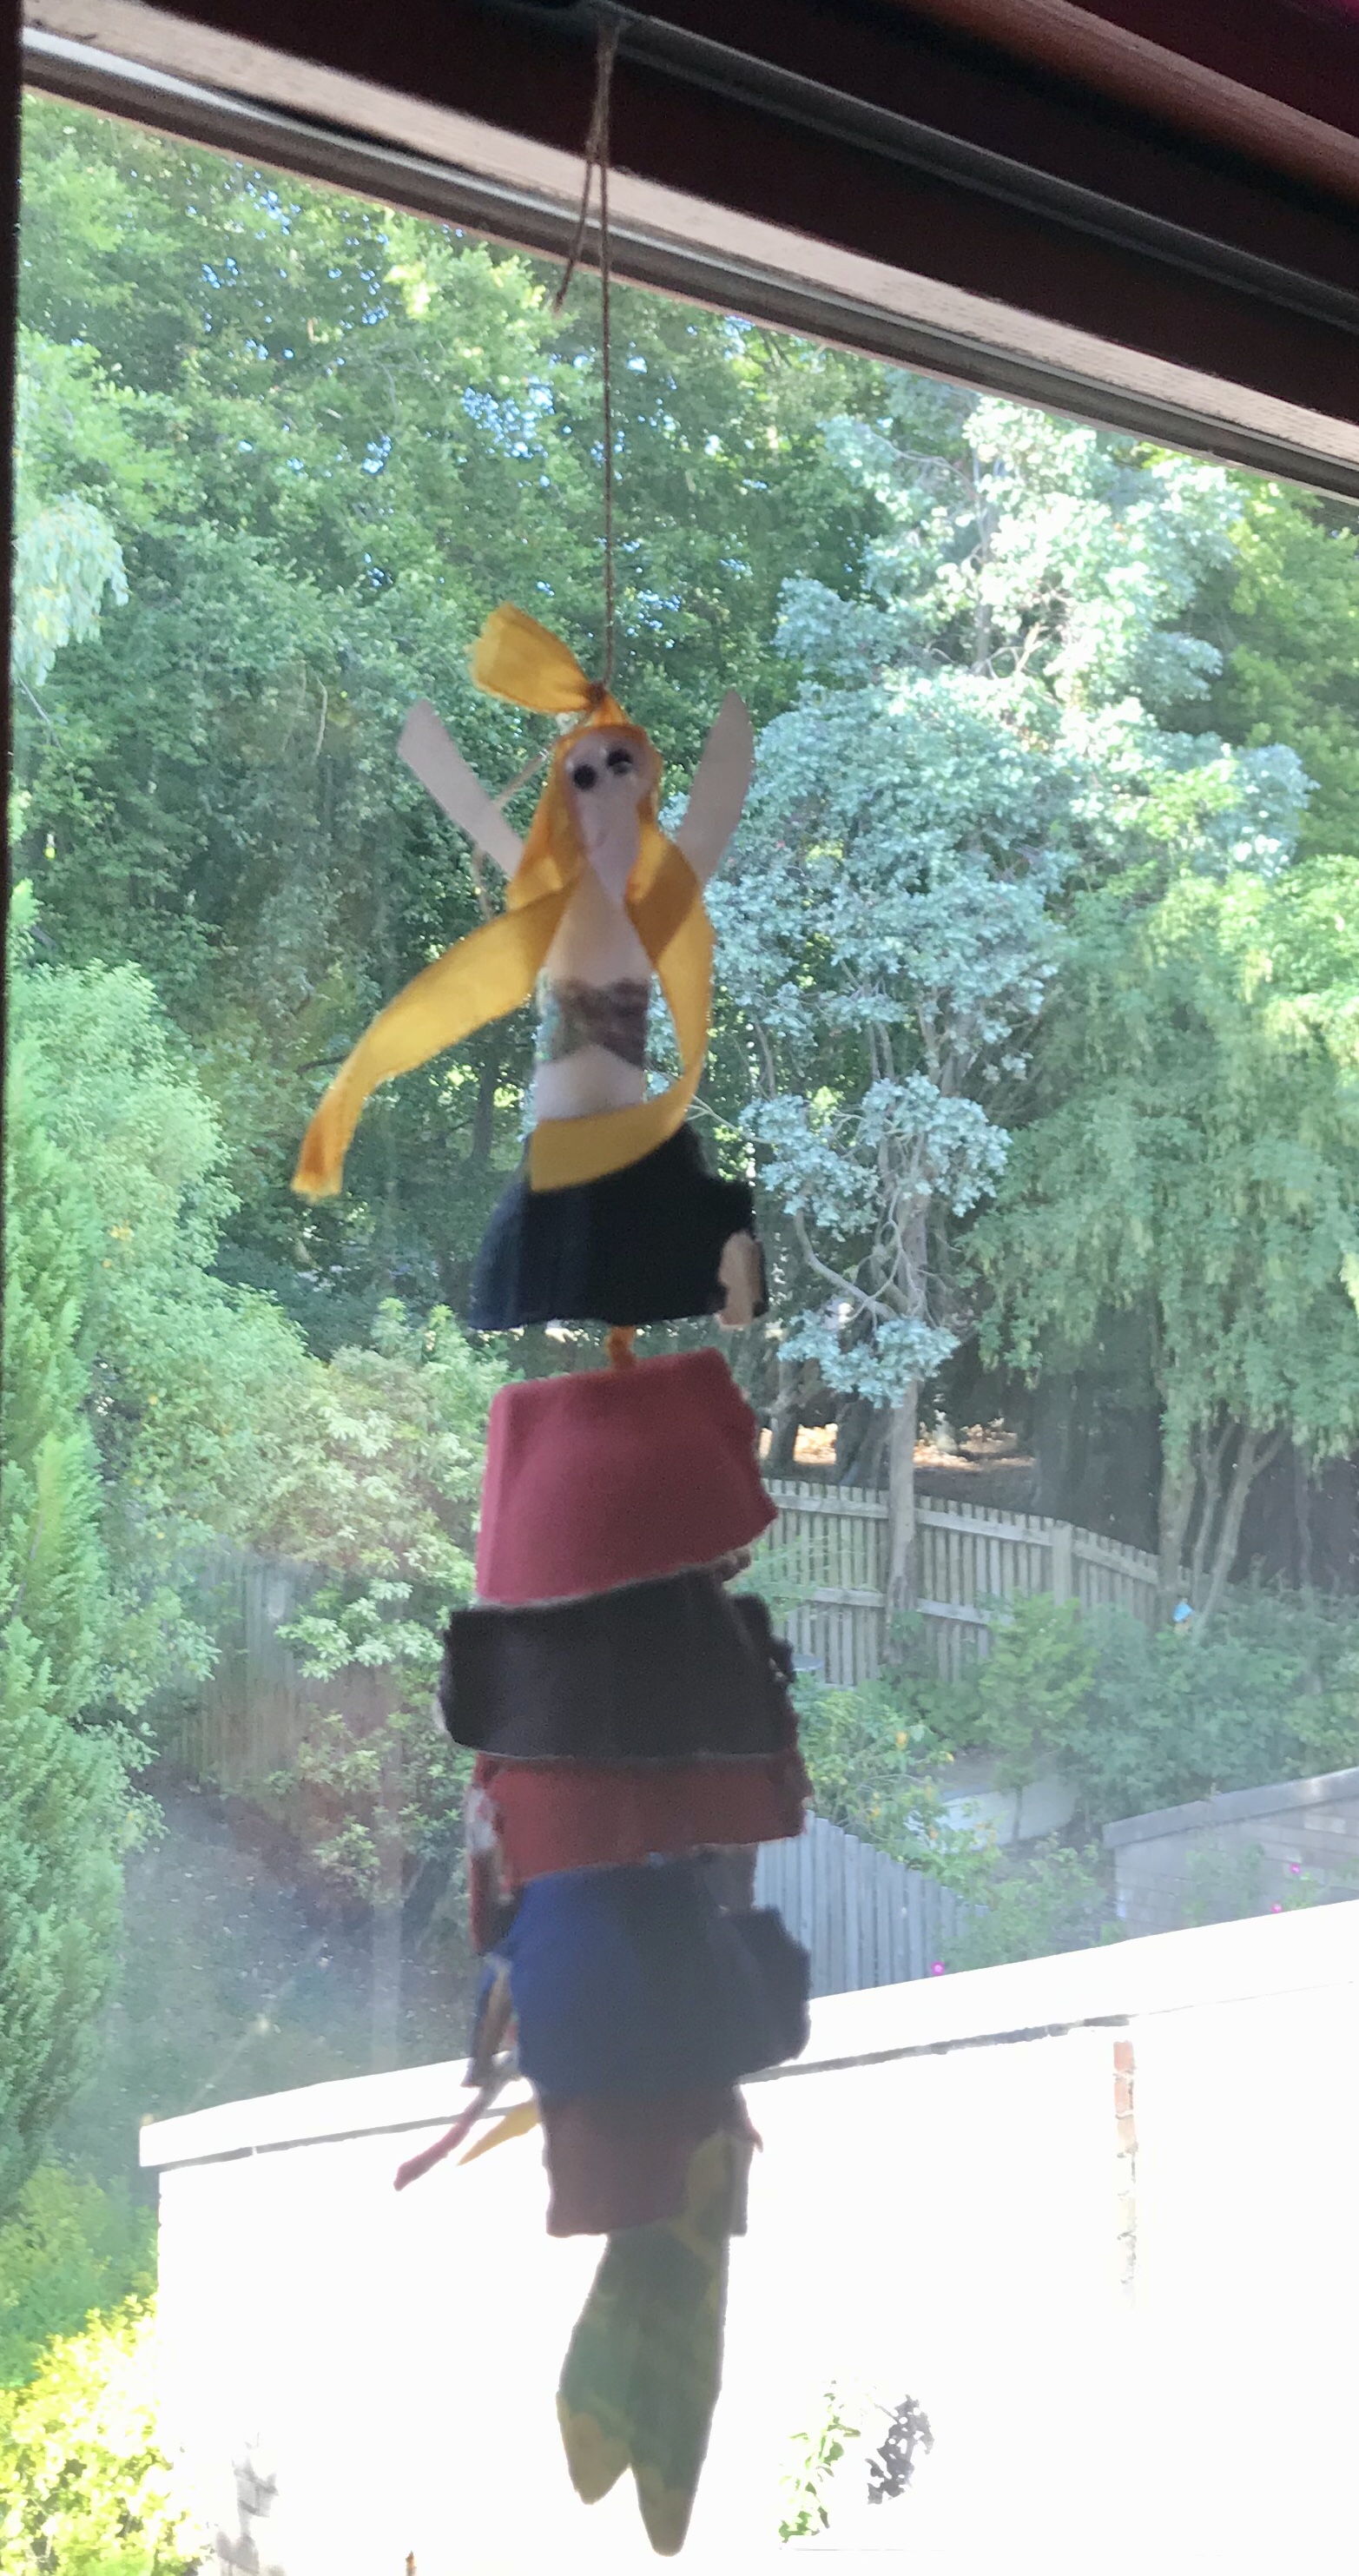
Finished mermaid
Hints and tips:
– Extra recycling points if you manage to cut out the tail and the body from the remaining lid of the egg box, otherwise use card.
– If you have a glue gun it’s worth using it to stick the ribbon the the mermaids body and to secure the mermaid inside the top section of the tail. Otherwise use sellotape.
– I had trouble spacing the tail sections, make sure you have the right spacing before tying the knots.
